2018 Ruckus at the Rec Camp

OK – couple of highlights from today’s car show, and a link to the FB album:

Here’s the Mustang:

And a shot of the engine:

A couple with Tom Smith from Misfit Garage (he’s actually quite the character – cool guy):

My pal Gonzo with his awesome ’70 Camaro:

And my buddy Dave, in from Phoenix with his bad ass 2018 Mustang GT:

The link to my FB album: https://www.facebook.com/media/set/?set=a.2188874031123503&type=1&l=cf90e3cdc2


San Angelo Cars & Coffee – 18 August 2018

So, I just returned from a conference in Omaha, Nebraska, but while I was there, my pal Gonzo called me – I missed his call because I was on my way to a degausser factory tour (probably wondering what a degausser is, I’m sure… don’t worry about it). Anyway, he was calling me to see what was going on, and I’m guessing to let me know his awesome ’70 Camaro is running again and back home. SWEET! I later saw it on Facebook and was pleased to hear he’s back on the road.

Friday afternoon, I met up with him and let him know about Cars & Coffee going on this morning. We made plans to bring out the Camaro and the Mustang, since they hadn’t been ‘together’ since a car show something like 2 or 3 years ago, or something like that (they literally grew up together at the Auto Hobby Shop as projects started around the same time).

We pulled up, grabbed a couple of parking spots, went inside and had some breakfast, then hung out for a few hours with all the other cool cars that showed up. Had a blast! Now, I just hope I can find a couple pics to swipe from FB to load-up here.


“Do it yourself,” they said…

Thanks a heap, Ram Truck Division, or “Truck Company Formerly Known as Dodge,” or whatever you’re calling yourselves this week.

I took the Ram to the Auto Hobby Shop for it’s 60,000-ish mile maintenance (oil, filters, serpentine belt, transmission servicing… I’ll do all 16 of the spark plugs in the driveway when the engine’s cold, thank you very much) after stopping by O’Reilly Auto Parts for supplies. $300 later, I had everything, including a new steering wheel cover. I’m especially happy with the manufacturer because my 2012 Ram is a 2 wheel drive truck… not my customary 4WD (I have the Jeep for that, and I hardly ever used 4WD in my ’97 Ram). Anyway, I got the Ram in the air, drained the oil, changed the oil filter, drained and cleaned the transmission pan, and looked at the pan really funny as I was putting the pan gasket on. According to the instructions with the filter kit, I had a 4WD pan (stepped bottom shape with a ‘deep’ sump, rather than a single-plane shape with an ‘outcropping’ for the filter).

WTF, Over?! I have a 2WD truck, with a 4WD transmission pan… from the factory! Well… crap! Now what?

Fortunately, my pal Chuck Glaspie offered to drive me back to O’Reilly’s to exchange the transmission filter kit. Got there, and the awesome parts people sympathized and made the exchange – I’d already glued the gasket from the 2WD kit to the pan, but the pan shape is identical to the 4WD pan, so they grabbed the gasket from the 4WD kit and tossed it into the 2WD kit I was exchanging and gave me the 4WD kit – no extra charge! (they were the same price, too… but the guys were still cool for doing so).

Chuck got me back to the shop and I was able to finish up the filter swap and dump in the new fluids without further hassle – with only a few minutes of overtime graciously granted by the Auto Hobby Shop crew while I cleaned up my space and backed out.

The only thing missing from this story are the absent wise-cracks from my pal Jim Eimer, otherwise this would be just another “Jim & Eric Automotive Adventure,” which I so desperately miss. I’m sure Jim’s looking down from above grinning and chuckling to himself while nudging Don Myers saying, “Watch this sh!t.” I hope they’re having a ball at my expense. Well played, Jim… well played. Miss ya, Man!


Workin’ on the ’82 Mustang GL

Wow, so it’s been almost 2 months since I last posted any progress. Been all sorts of busy, and just hadn’t gotten back to it in awhile. I picked up some embossing powder and decided to make some ‘carpet’ for the Mustang. Yeah… that turned out like crap. I picked up the ‘extra thick’ embossing powder, thinking that the bigger bottle of clear would be what I needed for many years of scale model carpet goodness. Nope – it looks like I’ve effectively spread tan gravel on the floor of the kit. Whatever… it’ll be inside and nobody will be looking that close, anyway.

I played around a little bit today and worked on the center console and dashboard. I just need to touch up a couple of tan spots on both and maybe print some gauge faces (haven’t decided yet). The kit came with front wheels that could be steered (or posed, rather), but didn’t have a tie rod connecting the two. So, I busted out the trusty pin vise and drilled some holes through the ‘spindles’ and made some tie rod ends out of a paper clip along with an old school tie rod to span the gap between the two. I’ll dress it up to look like the rack & pinion which is also missing on the chassis.

Baby steps, I guess.


Cars & Coffee – May 2018

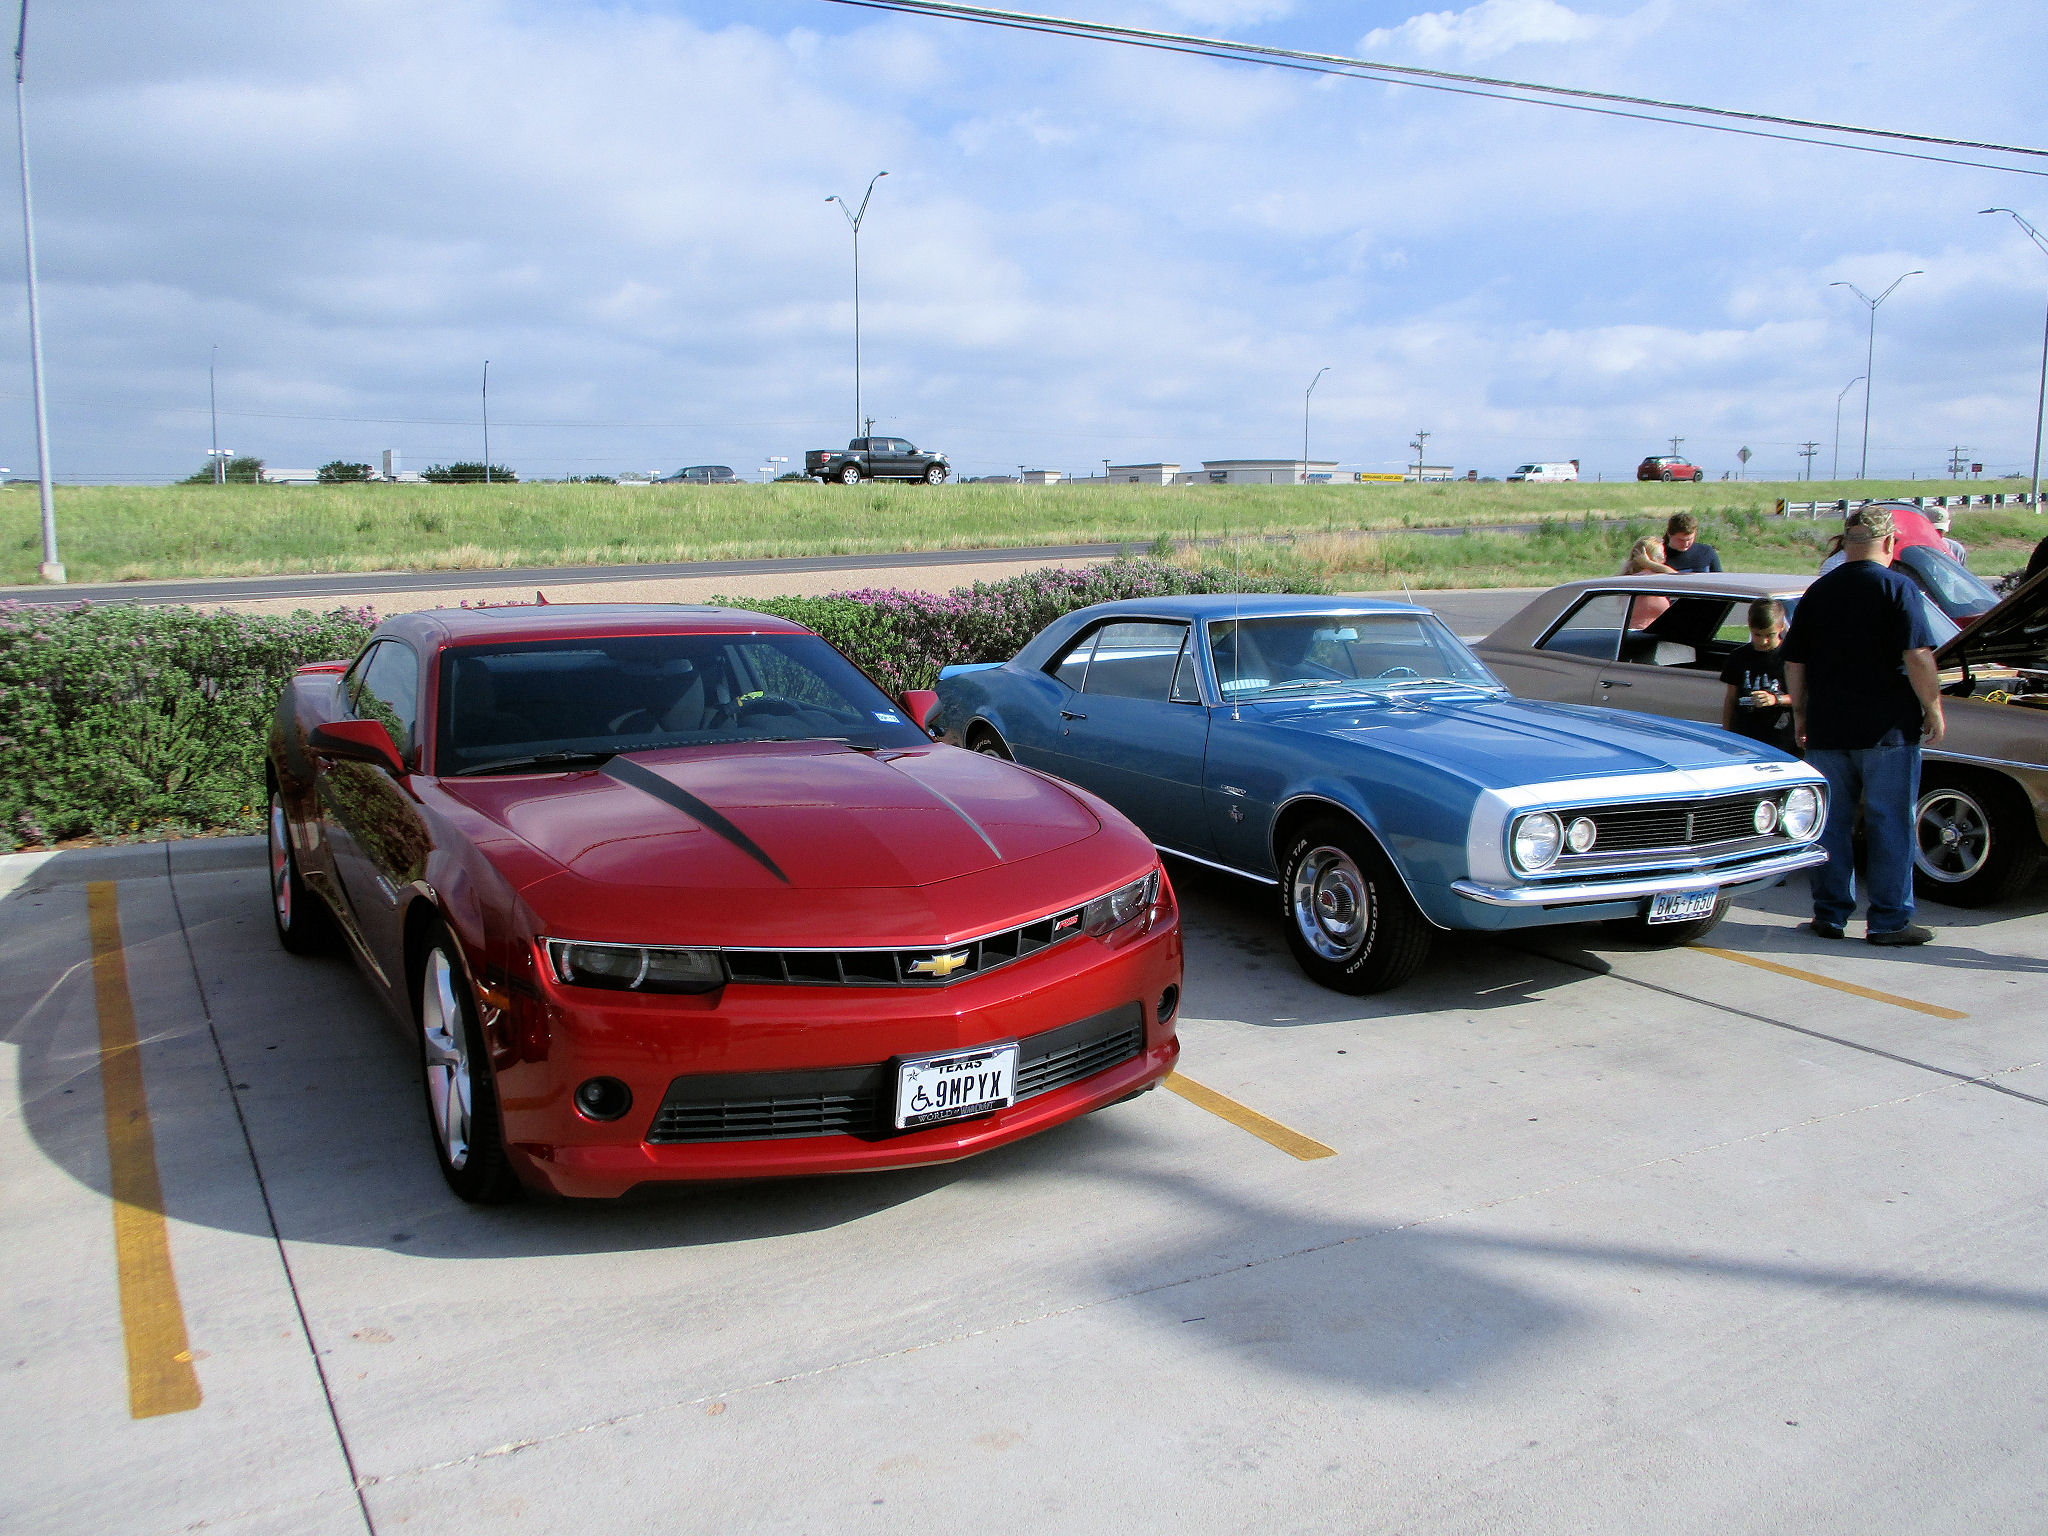
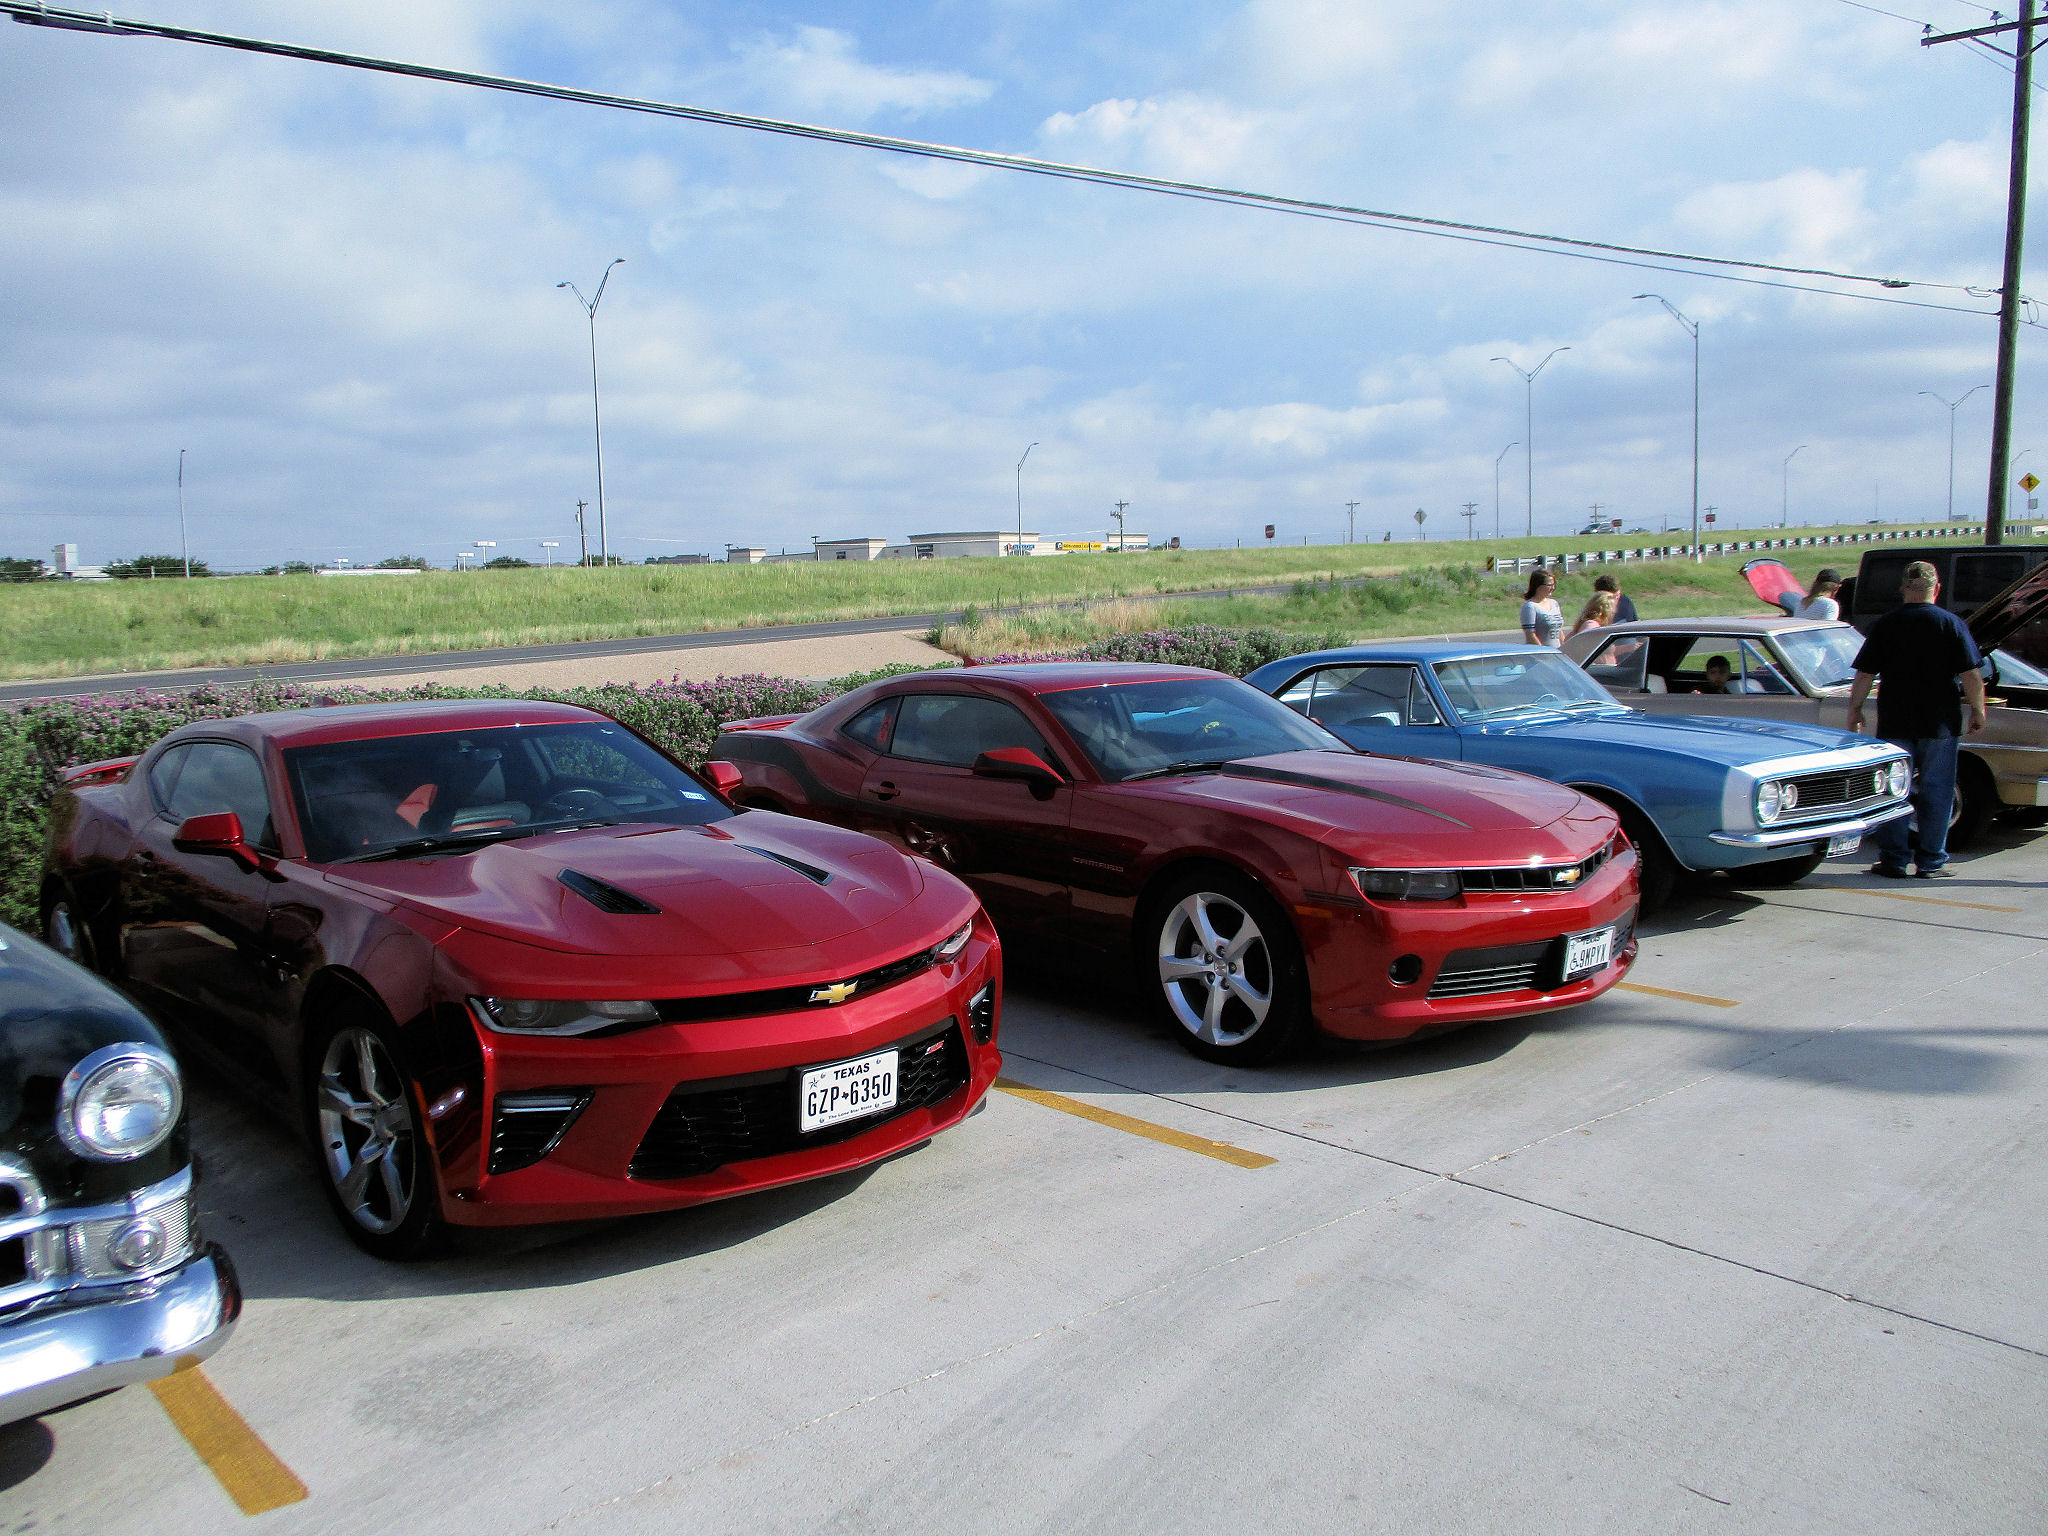
Saturday, May 19th was the usual monthly gathering of the San Angelo Cars & Coffee crowd. My pal Gonzo and I decided to go, get some breakfast, and chill for bit with all the cool cars. I also decided that since I had to move Carmen to get the Mach 1 out anyway, I’d just take it out for spin to debut the stripes, and be Camaro Buddies with Gonzo and his awesome ’67. While we were eating breakfast, someone snuck in and parked their 2017 Camaro next to Carmen. I hate to say it, but I still like the 2015 better, as the new ones are looking more and more like a cross between a Toyota Corolla and a new Mustang, and less like a Camaro – then again, most new car designs are pretty much ripping off cues from other cars, anyway. Still, a cool car – but I’ll stick with what she picked out.


Weathering… who knew?

I’ve kind of hit that place where I need to prep the body for paint, along with the interior door panels/inner wheel wells/front aprons (each side is one piece) and firewall, since it’s all body color on the car.

I decided this past weekend to play with the Tamiya weathering master kits to age the underside a bit after seeing a phenomenal build underway of an ’85 SVO Mustang. I didn’t go nuts with it, but I think it made a little bit of difference using some rust, soot, silver, and gun metal. Also drilled some holes in the firewall for the heater hoses after carving off the molded ones.

Hopefully, I’ll have a chance to get some color on the body parts and interior so I can press on with those. Also need to score some embossing powder to make some proper sheepskin seat covers.


All about the details

OK, so after taking it all apart a couple of times, I finally found a suitable substitute for a distributor, and also this really cool old pin vise set that belonged to my Grandpa I’ve been carrying around for 25 years or so. I used a 68 gauge bit to drill some holes for the spark plug wires, scratched up some linkage arms for the carb and transmission, installed the TV cable (from AOD to carb) along with an automatic shifter cable. I used a Molotow chrome pen (1mm) to dot the bolt heads on everything, and even scratched up an alternator bracket… and none of this will likely ever be seen again once I get all the rest of the engine components installed.

How ’bout ‘dat?


Making progress

OK, so some progress.

I went to Hobby Lobby yesterday and spent WAY too much money. Among the many things I brought home were a nice fine-tooth saw & miter box… which came in handy today when I noticed (and realized) that the transmission cast with the 2.3L 4-cylinder was a T-5 manual… not the AOD my Mustang had with its 2.3L. I thought I’d seen an automatic in the kit, and the floor of the car only has a brake & gas pedal… no clutch… and the 5.0L V-8 was indeed cast with the AOD automatic. Cool – so, now I get to use my new saw and miter box.

First – separate the AOD from the 5.0, and the T-5 from the 2.3:

Meanwhile, with the glue and steel paint on the AOD dry, I’ve almost got it to rolling chassis (still need some details underneath like shocks, and paint the backsides of the wheels, and whatnot – but the suspension’s on for the most part):

The floor of the interior is supposed to represent the tan carpet that was in the real car. This kit’s a little odd in that it doesn’t have a proper interior ‘tub’ like most car kits do. Oh well, it’ll look right when it’s all done.

And finally, here we are with the 2.3 mated up to the AOD, as it was in the real car:

Still lots of work to do: gotta wire & plumb the engine, finish up the underside with the rest of the driveline, get the body ready for paint, and get busy on the interior. Most of the work so far has been painting all the little bits, which has become more of a process since after having actually [re]built some cars in my time, now I’m on a quest to get it all ‘right.’


1982 Mustang GL tribute model

As I’m stuck here at home today with a bad case of the stomach grumblies, I decided to dig out the Mustang Turbo Cobra kit and see what I’m up against. The previous owner had removed a ton of pieces from the sprues, but fortunately it looks like everything’s there. This kit is a proper ’79-’82 Mustang, so it’s a bit more anatomically correct to be a tribute to my first car, an ’82 Mustang GL hatchback.

I started building the 2.3L 4-cylinder (since that’s what came with mine). I’ll put the optional 5.0 V8 together later for a future project.

I already have a model of my first Mustang, but it was built in ’88 or ’89, not even the right kit, and was done in a hurry and quite haphazardly. That kit was an ’84 Silver Anniversary kit I found at Firestone of Alamogordo (of all places), and I found some wheels from some other kit that were kind of close (if 6-lug 15x10s with 12 holes on BFG T/As can be considered “close” to 5-lug 14x7s with 10 holes on Goodyear Eagle GTs, that is). I’d also taken some liberties and added a sunroof and trunk spoiler, which neither came to be since I traded the car in on an ’85 Nissan 4×4 before I got that far. I also didn’t have any rear window louvers on the kit, however the new kit has some so I won’t have to scratch-build them.

I just hope I can find that color again – one of the few things I got right! 😉

So, here we go – here’s my car:


And here’s the kit with my build from back in the day next to the pile of pieces of the new kit:

The biggest thing I’m anxious to correct is the engine compartment – I SO messed up on that first kit. I mean, who paints a radiator hose silver, anyway? LOL!