 This
is how it all started out. I did just about all of the fabrication work at
the Auto Hobby Shop located at Goodfellow Air Force Base, in San Angelo, Texas.
I spent a lot of my free-time there working on various projects.
This
is how it all started out. I did just about all of the fabrication work at
the Auto Hobby Shop located at Goodfellow Air Force Base, in San Angelo, Texas.
I spent a lot of my free-time there working on various projects. Building Kevin's new machine - Fabrication Phase
This
is how it all started out. I did just about all of the fabrication work at
the Auto Hobby Shop located at Goodfellow Air Force Base, in San Angelo, Texas.
I spent a lot of my free-time there working on various projects.
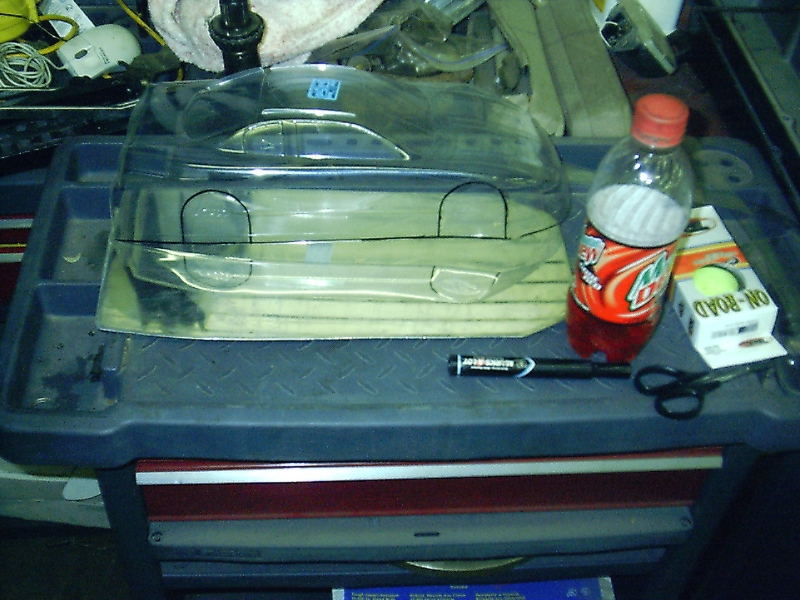
Here we have a collection of parts for the body and chassis. The sheet of aluminum is under the clear body.
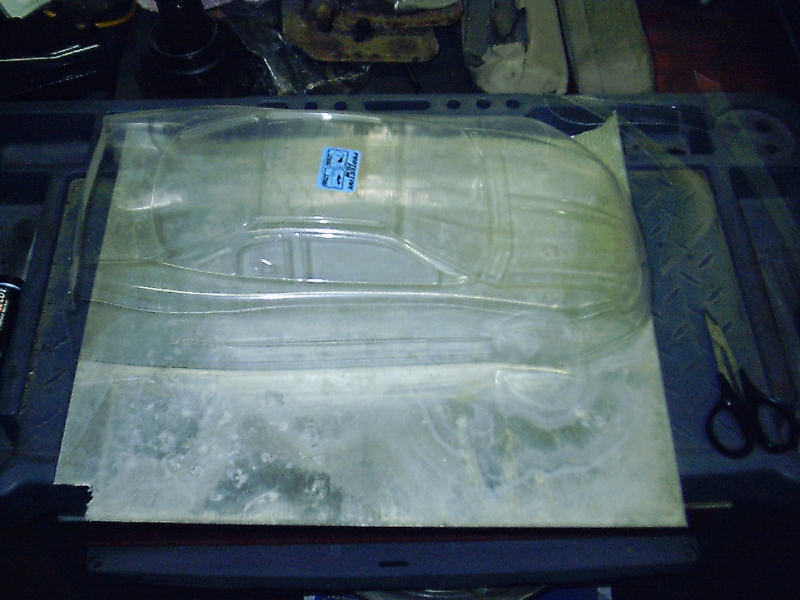
After cutting the extra trim off the body, it was time to start hacking up the aluminum. The sheet wound up being just long enough to fit the body on without having to cut the ends. Despite the perspective, the leftover portion of the sheet was shorter fitting the body the other way.
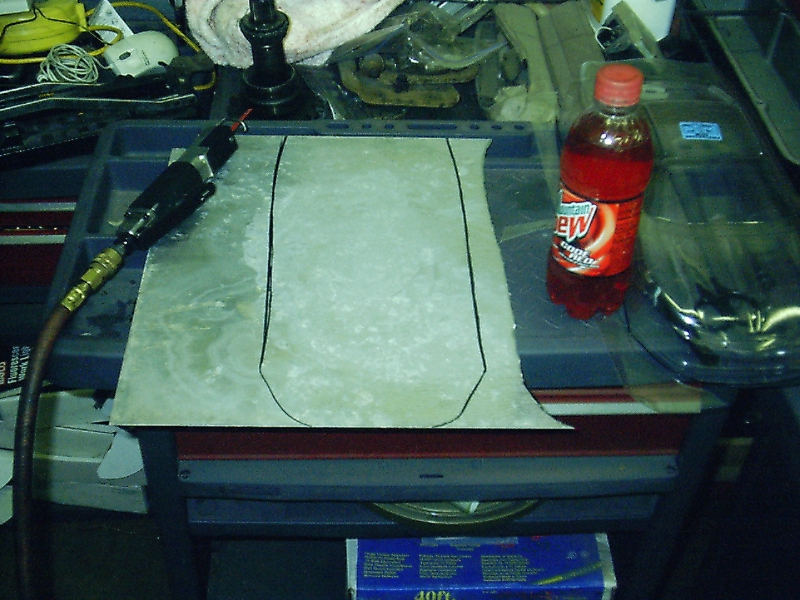
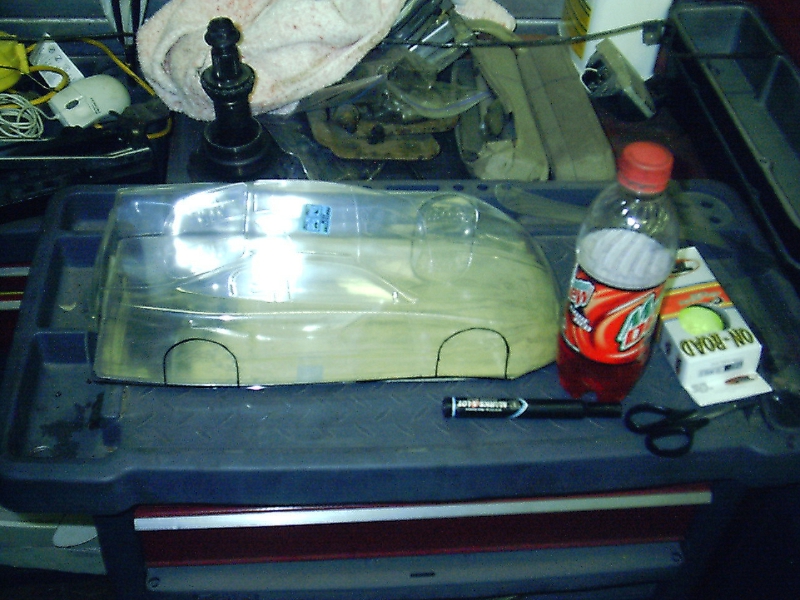
 Once
I had the body outlines marked off, I took the pneumatic hacksaw to the
aluminum. It made quick work of the aluminum, although the fine-cut
hacksaw blade loaded up very fast with hot aluminum shards. I switched to
a course-tooth blade and went from there. I also smoothed and deburred the
edges with a standard bench grinding wheel and wire brush.
Once
I had the body outlines marked off, I took the pneumatic hacksaw to the
aluminum. It made quick work of the aluminum, although the fine-cut
hacksaw blade loaded up very fast with hot aluminum shards. I switched to
a course-tooth blade and went from there. I also smoothed and deburred the
edges with a standard bench grinding wheel and wire brush.
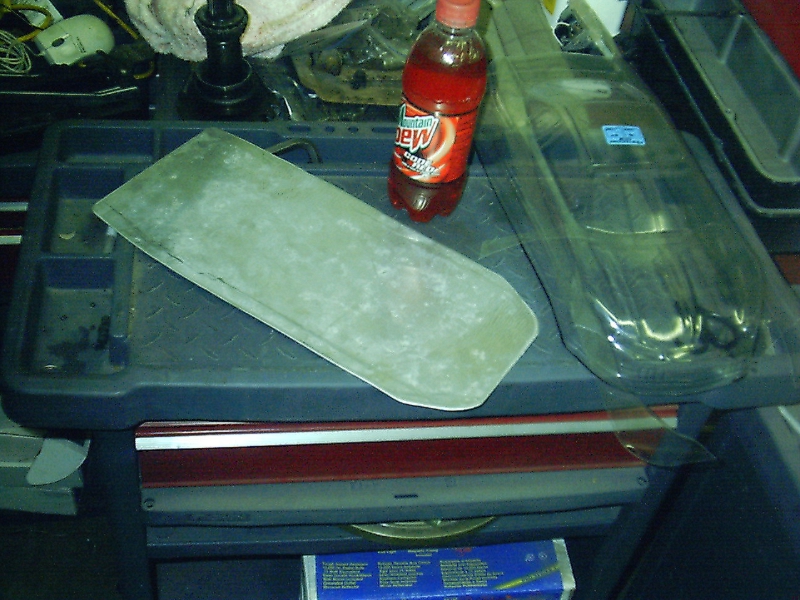
It was at this point that I decided to polish the aluminum. I used a series of polishing compounds that worked fairly quickly. The aluminum had been etched with moisture, since it had lived outside in my boat for a few years, which made the polishing of the etched stains harder. Once I had the top side done, I decided against polishing the bottom and sandblasted it instead. You can see that the polishing had taken the #24 I had scribbled away in favor of the shine.
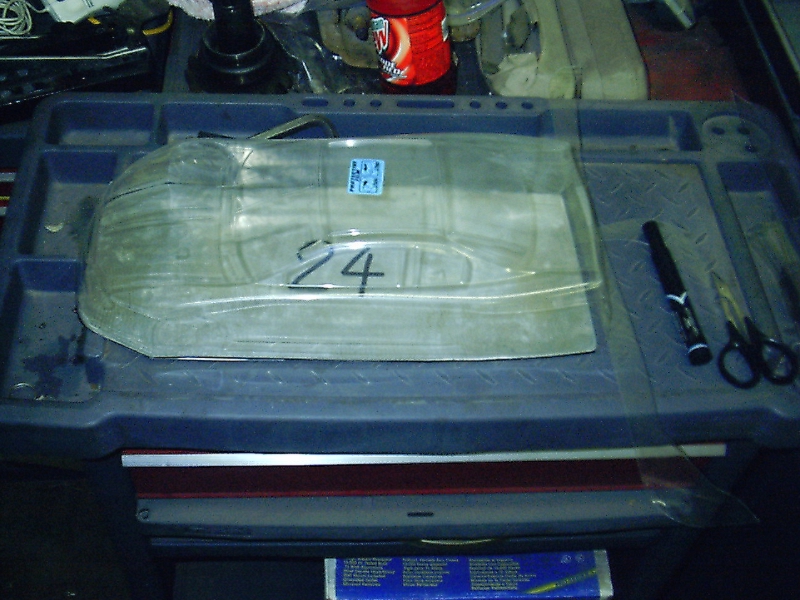
 I
set the body back onto the aluminum after I'd drawn out where I wanted the wheel
openings to be. Then marked the chassis to cut them out.
I
set the body back onto the aluminum after I'd drawn out where I wanted the wheel
openings to be. Then marked the chassis to cut them out.
After the wheel
openings were cut out, the bench grinder and wire wheel made quick work of
smoothing the edges.

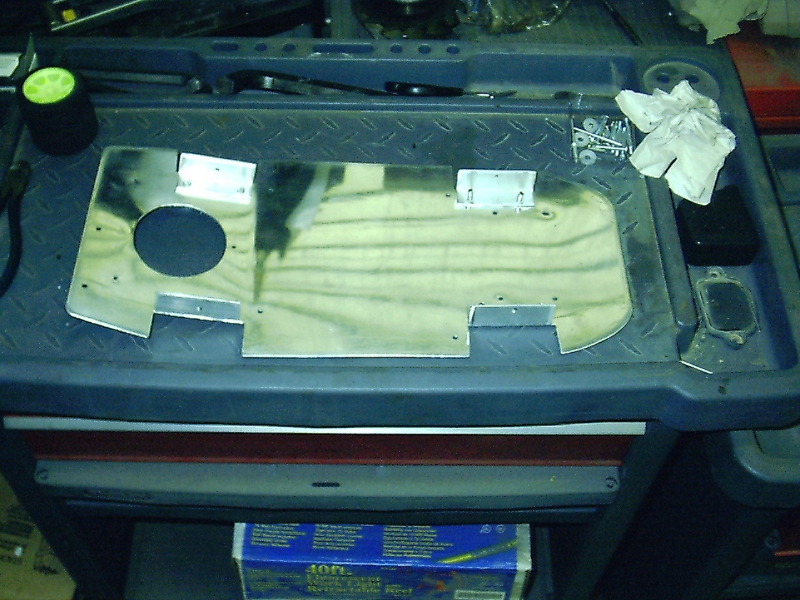
 At
this point it was time to bend the chassis to offer clearance for the power
supply fan, and also to locate the power supply onto the chassis to determine
where the opening for the fan would go. The white 3" hole saw in the
picture cut right through the aluminum in no time. To smooth it out this
time took much longer with a round rat-tail file by hand.
At
this point it was time to bend the chassis to offer clearance for the power
supply fan, and also to locate the power supply onto the chassis to determine
where the opening for the fan would go. The white 3" hole saw in the
picture cut right through the aluminum in no time. To smooth it out this
time took much longer with a round rat-tail file by hand.
 Now
it was time to locate the components and mark the mounting points. Once
that was done, it was easy enough to drill the holes for all of the mounting
points.
Now
it was time to locate the components and mark the mounting points. Once
that was done, it was easy enough to drill the holes for all of the mounting
points.
The holes in the middle of the chassis are for the motherboard, and I found some
1" aluminum stand-offs and machine screws to mount it with. I had my
friend Jim Eimer tap the holes so the stand-offs would thread right in without
any extra nuts on the bottom side for a smooth finish.
 Once
the holes were drilled, I cut some lengths of the 1"x1" angle aluminum for the
wheel mounts. After smoothing the edges and drilling corresponding holes,
I mounted them with pop-rivets.
Once
the holes were drilled, I cut some lengths of the 1"x1" angle aluminum for the
wheel mounts. After smoothing the edges and drilling corresponding holes,
I mounted them with pop-rivets.
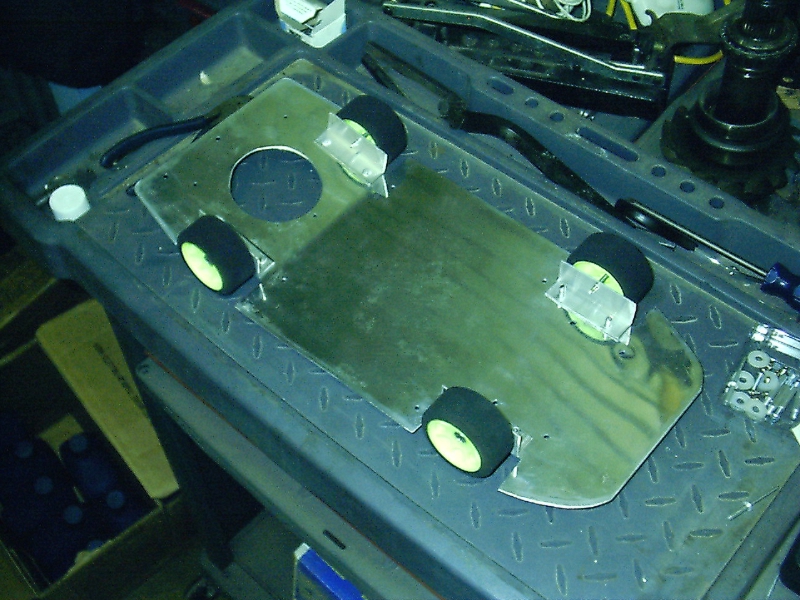 With
the wheel mounts riveted on, it was time to attach the wheels and see how it
sat. I had used some machine bolts and lock-nuts on Rusty, but I realized
I had forgotten to pick some up for this project. Jim came through with
some self-tapping sheet metal screws he had used on his Jeep to mount the
wheels, which worked perfectly.
With
the wheel mounts riveted on, it was time to attach the wheels and see how it
sat. I had used some machine bolts and lock-nuts on Rusty, but I realized
I had forgotten to pick some up for this project. Jim came through with
some self-tapping sheet metal screws he had used on his Jeep to mount the
wheels, which worked perfectly.
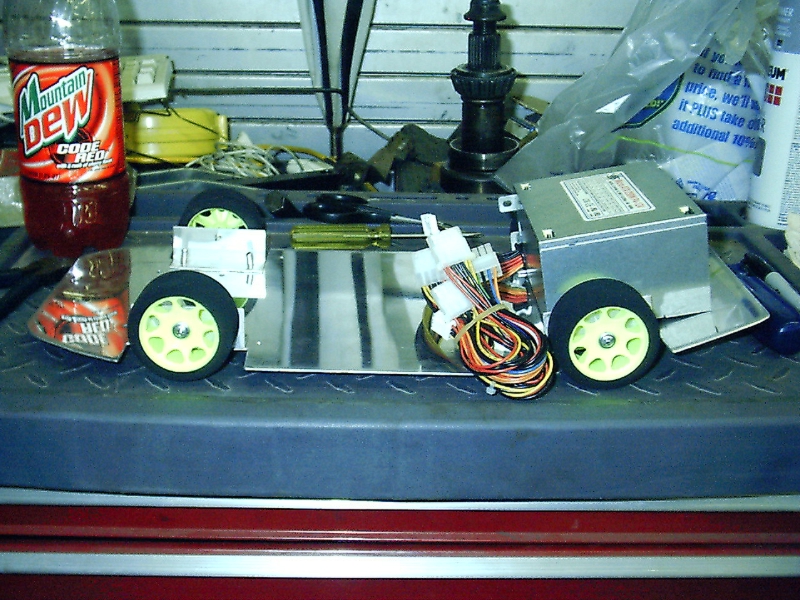 OK
- time to start mounting up the goodies. Start off with the power supply.
It wound up straddling the wheel mounts slightly, so a longer screw for the
bottom mount was needed.
OK
- time to start mounting up the goodies. Start off with the power supply.
It wound up straddling the wheel mounts slightly, so a longer screw for the
bottom mount was needed.
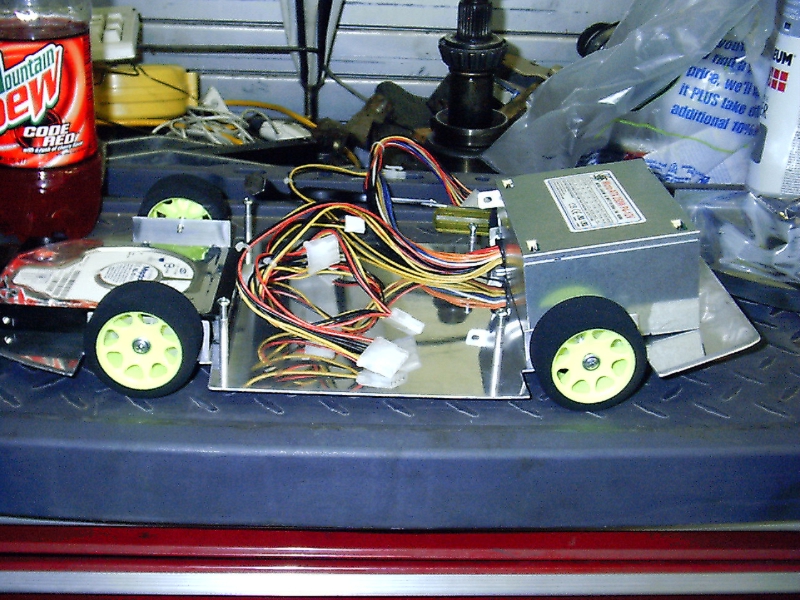 Next
comes the hard drive - up front between the wheels. Pretty straightforward
here - stuff the screws through the holes and tighten it down.
Next
comes the hard drive - up front between the wheels. Pretty straightforward
here - stuff the screws through the holes and tighten it down.
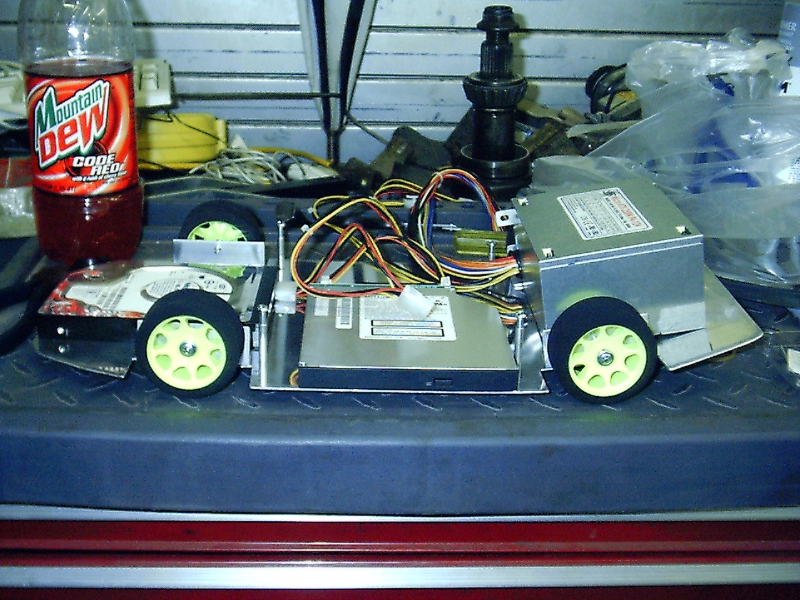 And
now for the laptop CD-ROM. I had used 3M double-stick tape with the other
machine, but decided to go with sticky-back Velcro this time, in case the CD-ROM
ever has to be replaced. Turns out I had to mount and remount the CD-ROM a
couple times to get the placement right... so it paid off.
And
now for the laptop CD-ROM. I had used 3M double-stick tape with the other
machine, but decided to go with sticky-back Velcro this time, in case the CD-ROM
ever has to be replaced. Turns out I had to mount and remount the CD-ROM a
couple times to get the placement right... so it paid off.
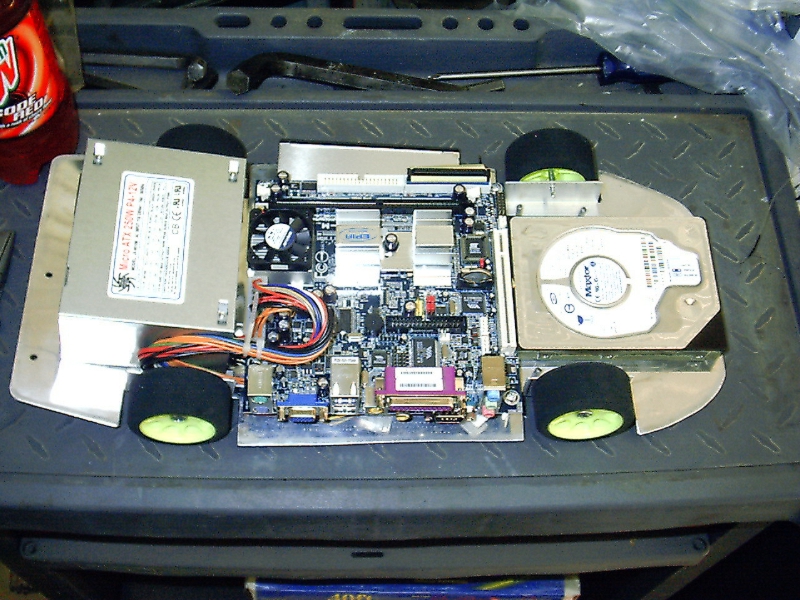
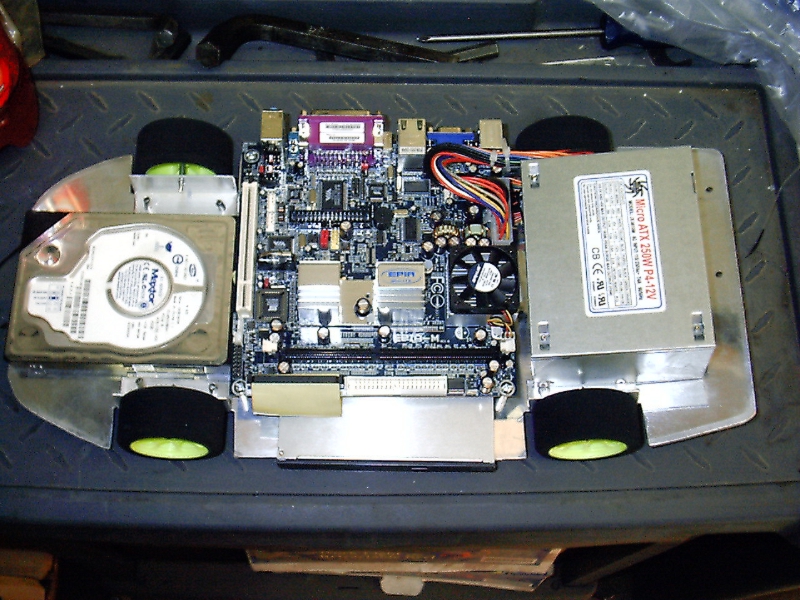 And
finally, fold up the IDE cable and mount the motherboard with those spiffy
stand-offs. I found out that it was all really tight under there, so I had
to make a plastic shield for the underside of the motherboard to prevent it from
tearing open the cables and shorting it all out.
And
finally, fold up the IDE cable and mount the motherboard with those spiffy
stand-offs. I found out that it was all really tight under there, so I had
to make a plastic shield for the underside of the motherboard to prevent it from
tearing open the cables and shorting it all out.
With the exception of mounting the switch bulkhead and USB bulkhead, this pretty
much concludes the chassis fabrication phase.
![]()