Jeep Tech/Project Stuff
OK - here's the deal. I've had this Jeep since 1995 and haven't really done too much to it (yeah, right). I've finally gone and made some changes and actually documented the changes in the process. Here's a few of the recent things I've done to it.
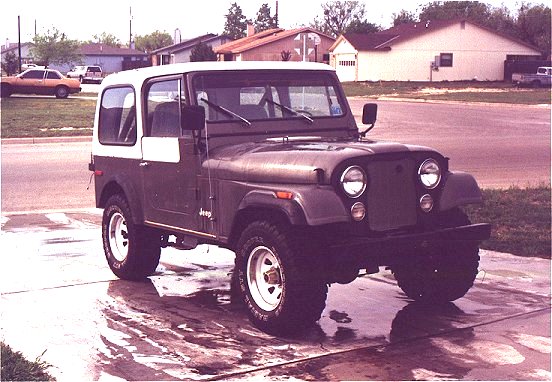
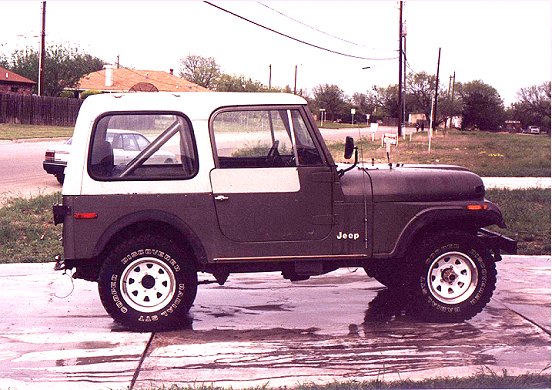
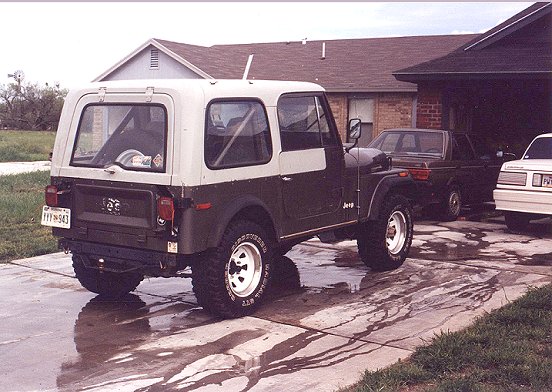
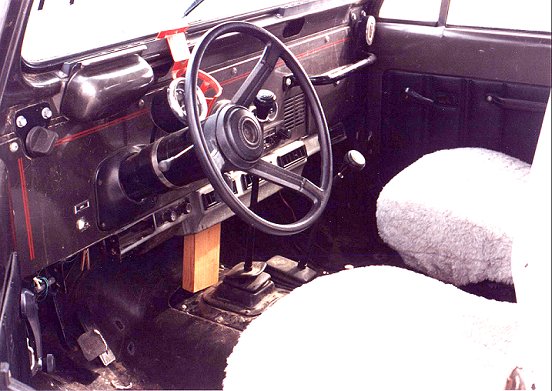
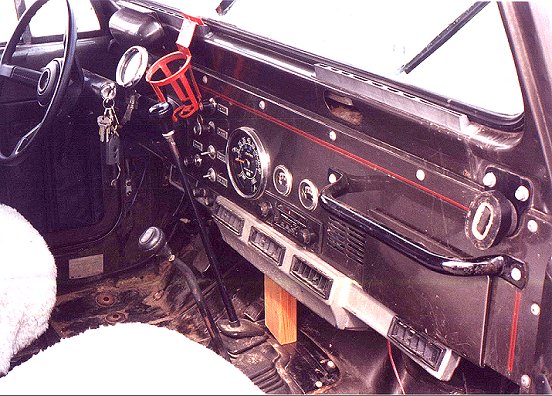
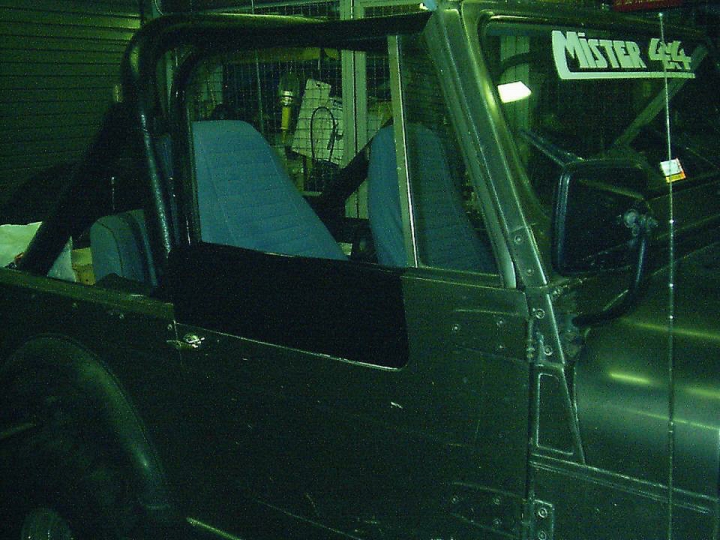
First of all - here's what the beast looked like when I brought it home for the first time with my wallet $1400 lighter. When my wife came home from Korea, we went out to a couple of junkyards and found the chrome grill and some new seats. I also installed some black astroturf to act as carpet, and dumped a monster stereo into it - by way of all my friends unloading their old stereo junk to me at rock-bottom prices. This 'look' lasted about 2.5 years, until I got out of the military and went for the big wheels and lift kit. I especially like the piece of 2x4 holding up the factory A/C unit because the previous owner was too cheap to get some sheet metal screws.
|
|
|
|
|
|
The first thing I did was shore up the interior by getting some sheet metal screws and reattaching the A/C to the dashboard. After that was done, I picked up a nice JVC AM/FM/Cassette deck from the BX, and scored some second-hand stereo gear from a couple of friends. I tore out the seats and laid down some black astroturf (rather than carpet) and bought some new seat covers. Then I got a padded roll-bar cover, spare tire cover, and bikini top from 4WD Hardware. So basically after some hardcore cleaning, the astroturf, some seat covers and a kickin' stereo, the Jeep's pretty much mine now. No turning back now - and no pictures handy.
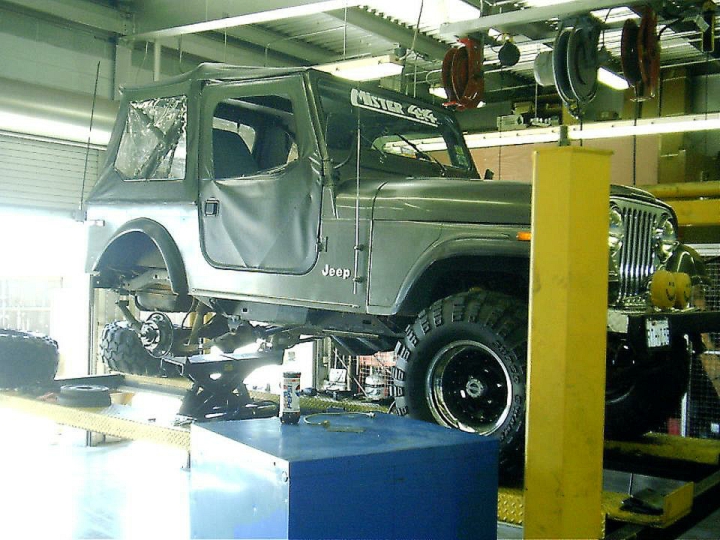
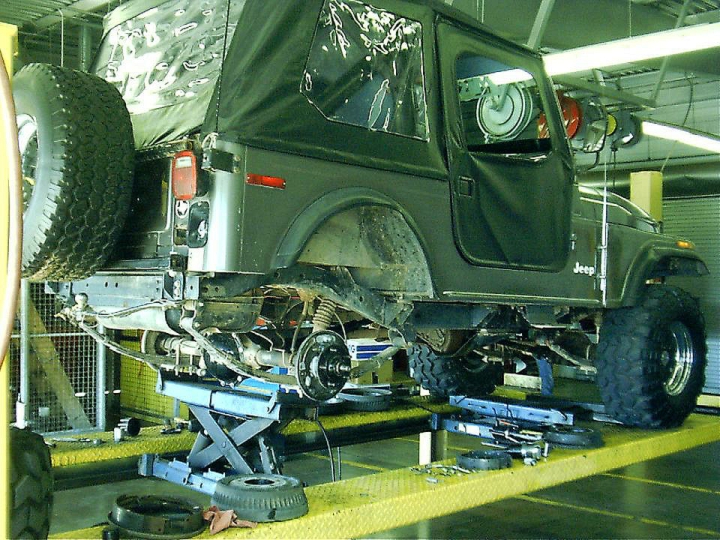
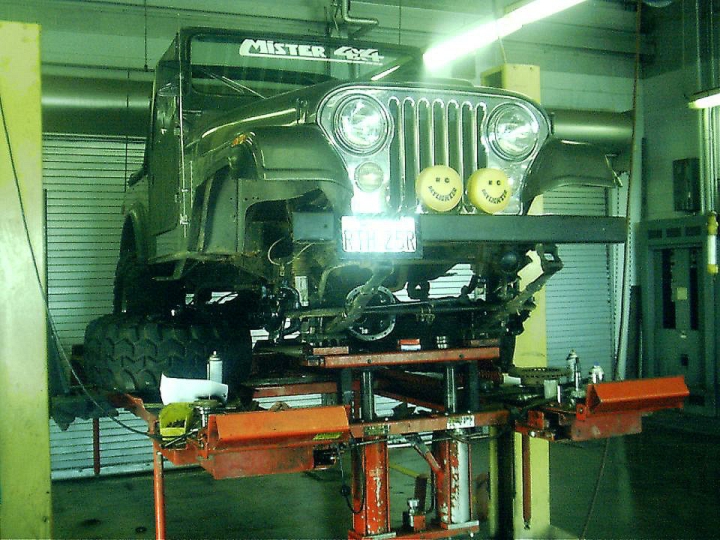
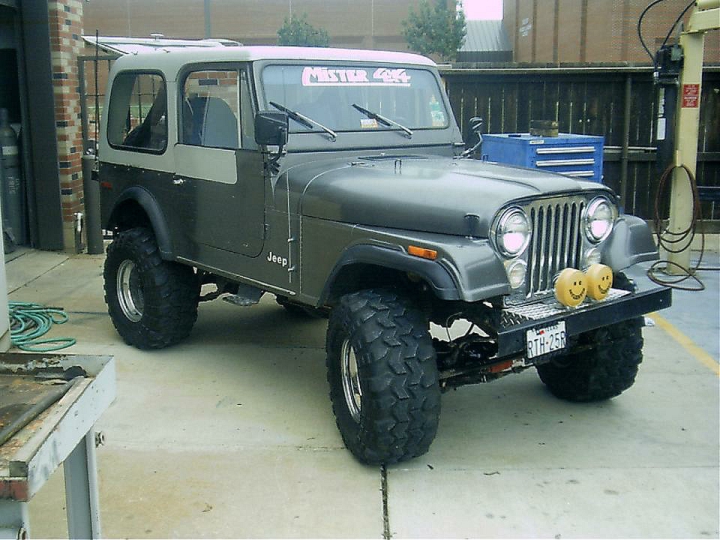
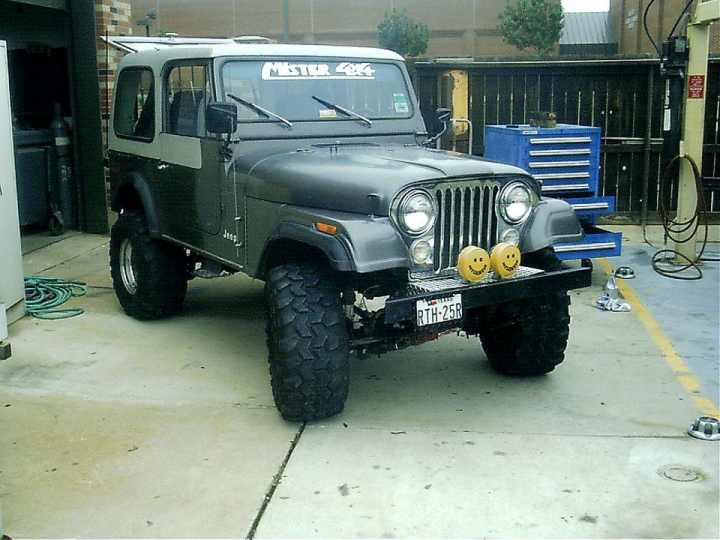
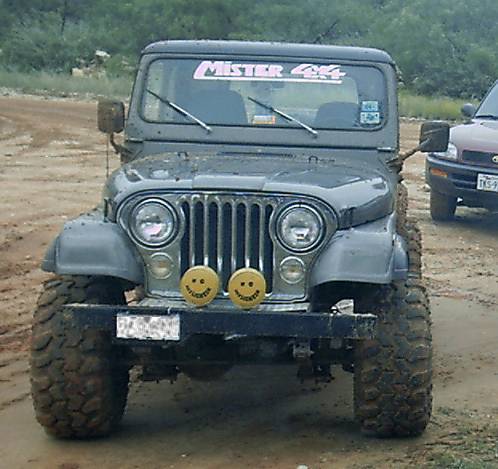
Which brings us to October 96 - otherwise known as the 'declining years' of the Jeep. I decided to slap on a set of 33x15.50" Interco TSX Super Swampers on some new 15x10 black modular rims along with a 4" Explorer Pro-Comp lift kit. My main failure in thought was expecting that a tire shop in West Texas could handle the simple job of putting it all together without something going wrong or it not being expensive. Dumb-ass me.
So I take it to Tom's Tire World and I knew something should've
been up when he wouldn't quote me a solid price. And then he was going to
charge me almost $1000 for a $300 lift kit. When I called him on that, he
called his supplier and asked why their magazine ad was cheaper than what they
charged him - to which I'm sure he passed the savings right along to me (yeah,
right). Anyway, he promised it done within 5 days... that's cool - I could
live with that. I was on leave after all... and couldn't care less.
Except that the boneheads kept calling me asking me how to do the
installation... and took another 4 days to get it done. And that only cost
me $2300-ish, all said and done. Geez! If I knew now what I knew
then, I'd have saved around $900 in labor by doing it at the Auto Hobby Shop.
And of course, the story doesn't end there. A short while later, my
transmission locks up at 70mph going down the freeway from oil starvation.
Why? Because those idiots forgot to refill the transmission after I
pointed out the puddle of 90 weight on the floor when I went to visit one day.
Apparently, it had a bad seal somewhere, and they left the tranny/transfer case
hanging overnight and it bled out. They told me they'd take care of it
when it all got put back together. Dumb-ass me believed them too... so I
never bothered to check the level in the tranny when I picked it up - I was too
awestruck with the new altitude and mudders.
So I spent the bigger part of September '97 learning how to rebuild a T-176
four-speed.
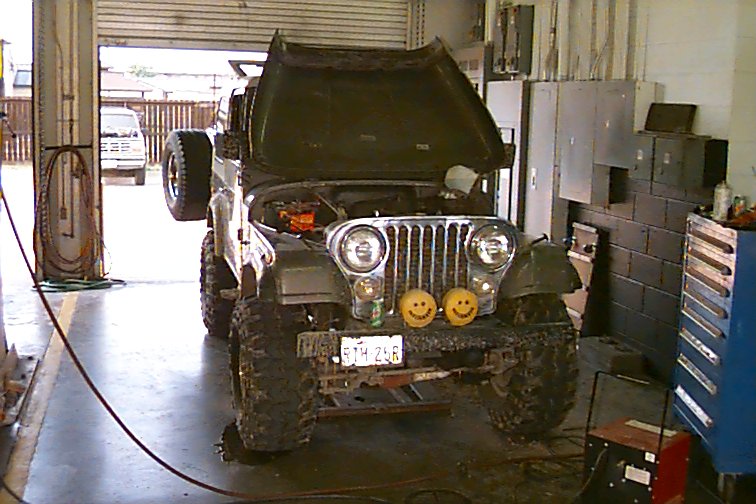
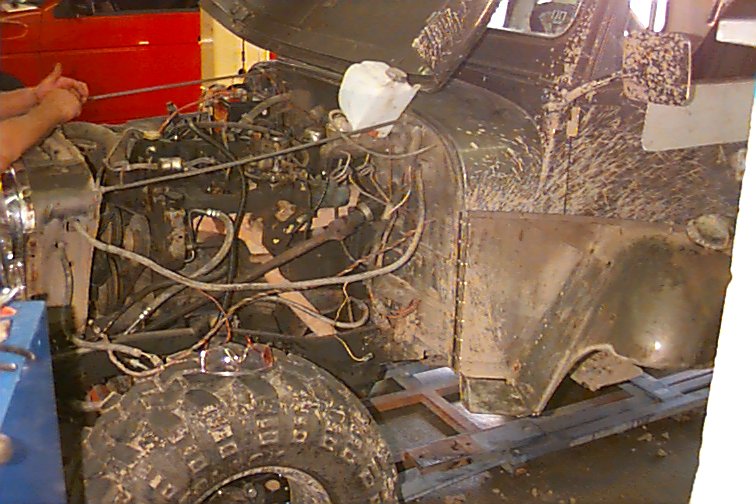
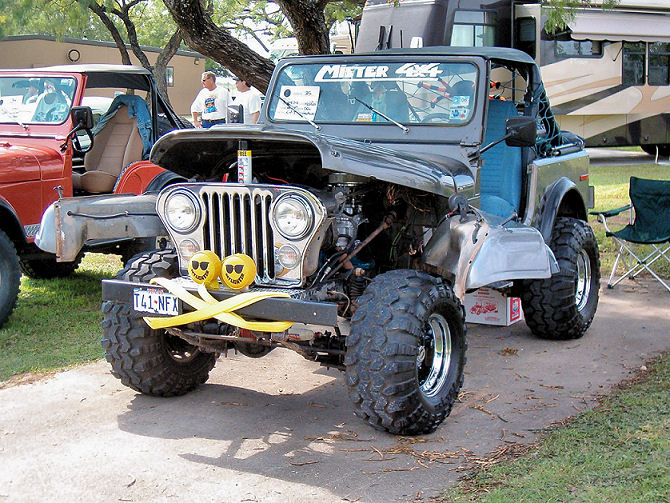
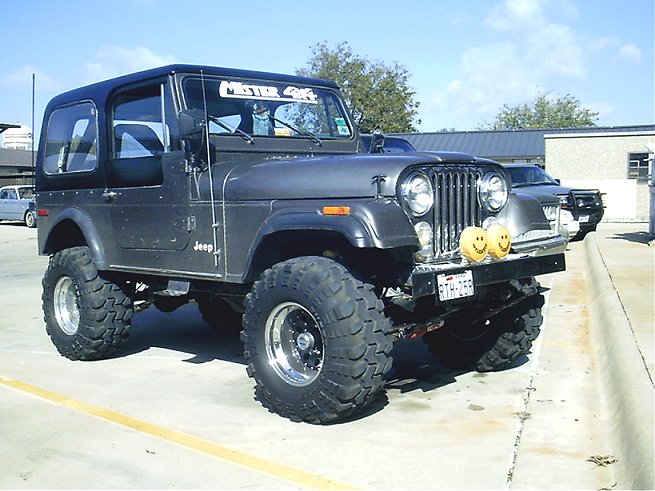
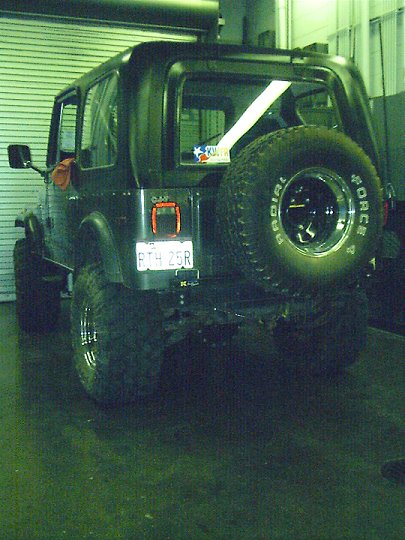
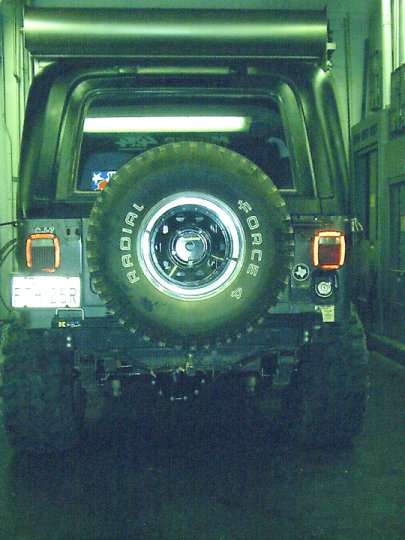
The first cool modification I did after rebuilding the transmission, was the fenders so they could swing back and out of the way to make working in the engine compartment and the front suspension a bit easier. I saw this trick in an issue of Peterson 4-Wheel & Off Road and decided to give it a shot. The 4 feet of stainless piano hinge cost a whole $8, and the handful of pop-rivets were free. I got to use the plasma cutter, since the inner fenders wouldn't clear the tops of the tires when I tried to open them. As well as I had to re-route some of the wires for the signal lights and horn, as well as relocate the windshield washer bottle. Fun stuff... I hadn't even bothered to clean the Jeep before I worked on it. The last picture is from a car show in 2005 where the Jeep won "Best in Class - Modified." I give credit to the fenders.
|
|
|
|
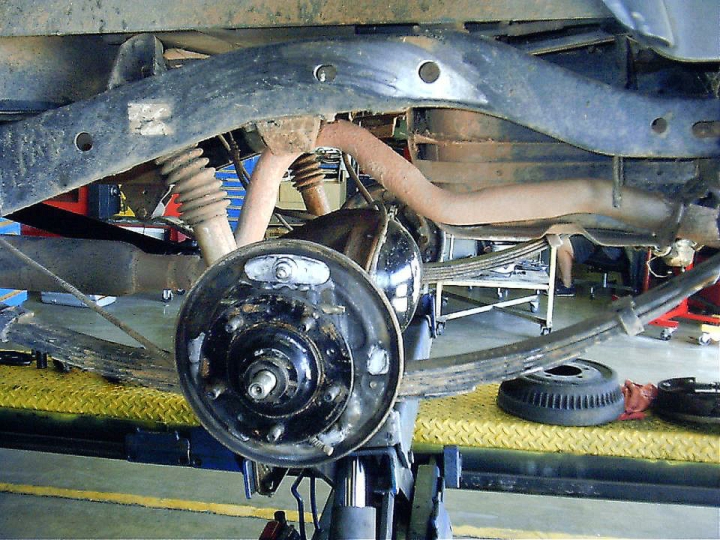
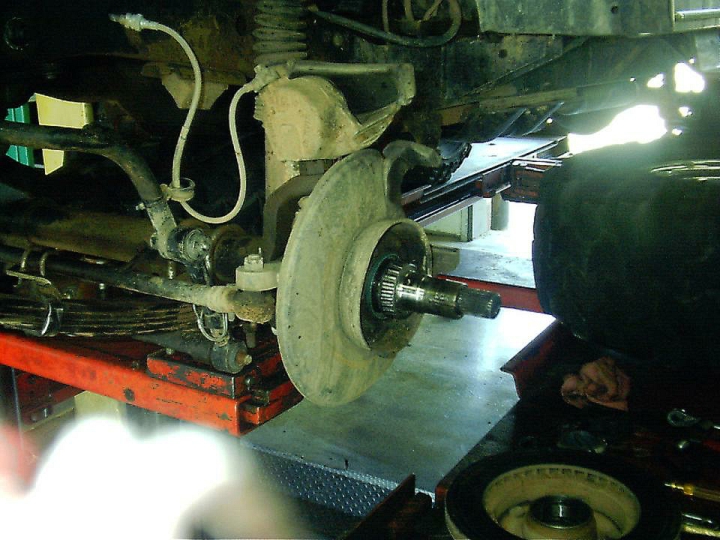
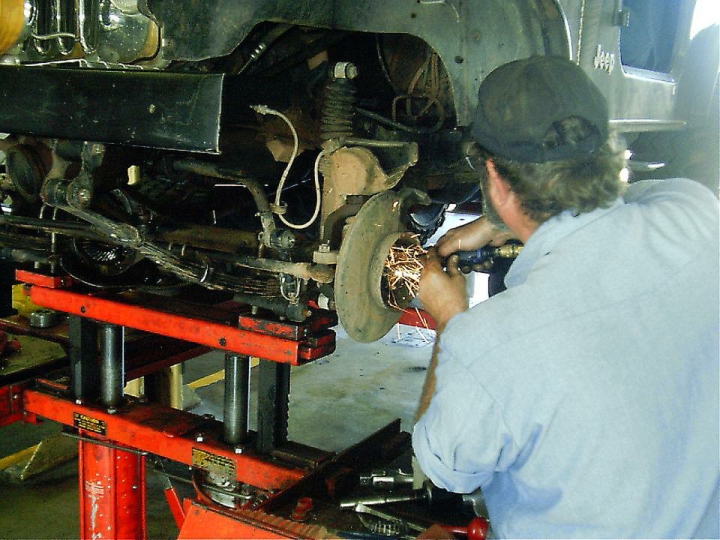
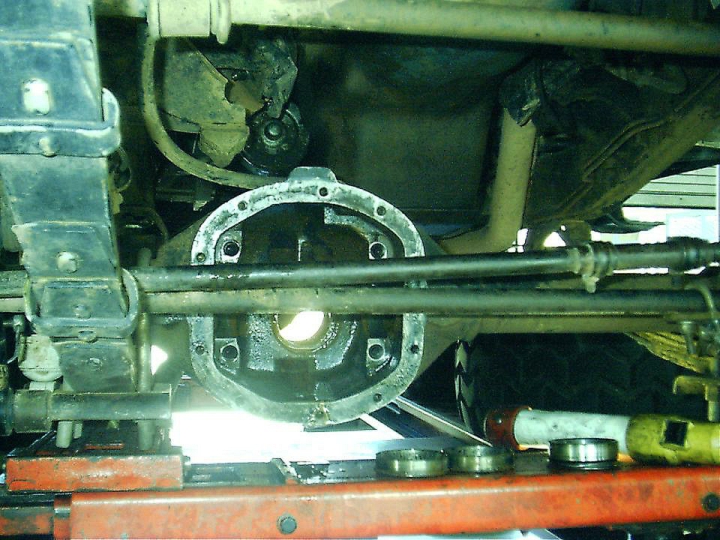
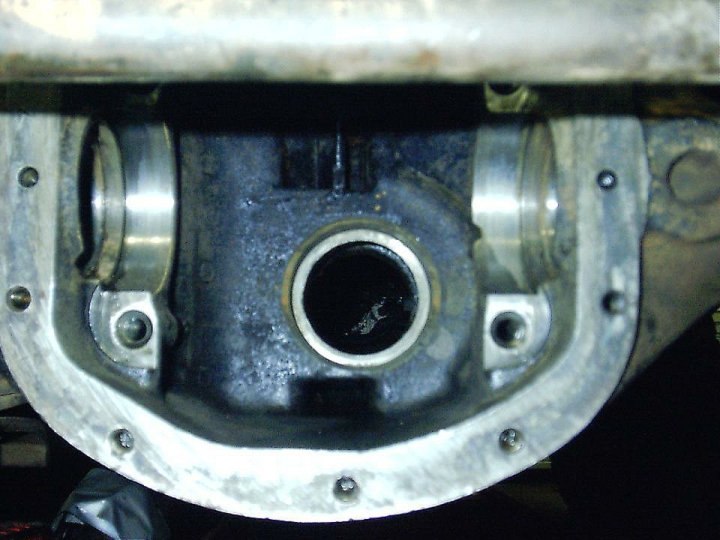
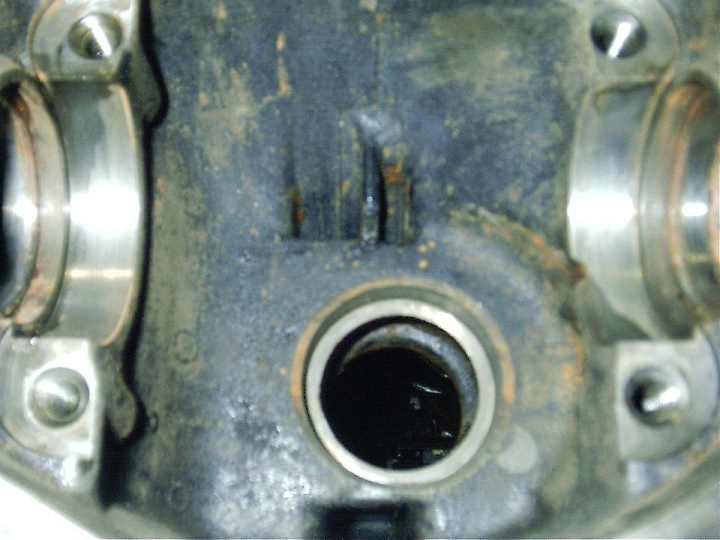
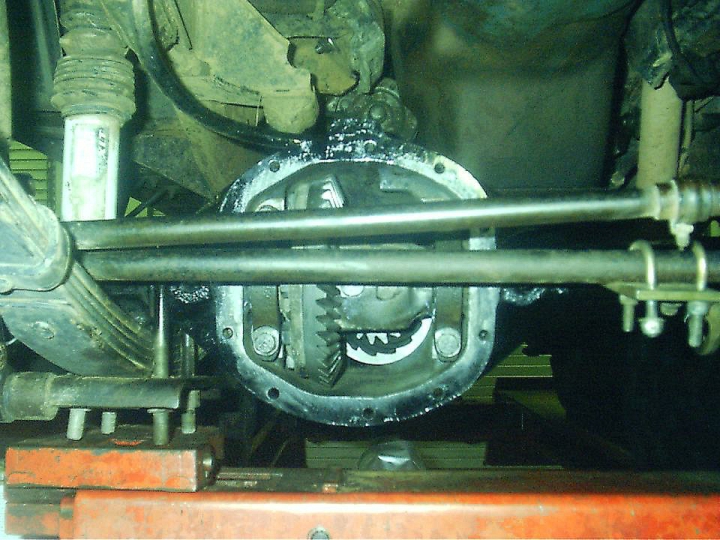
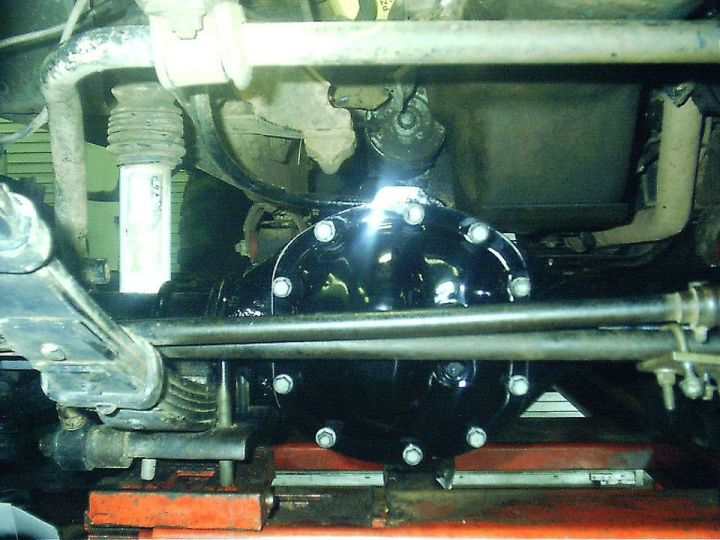
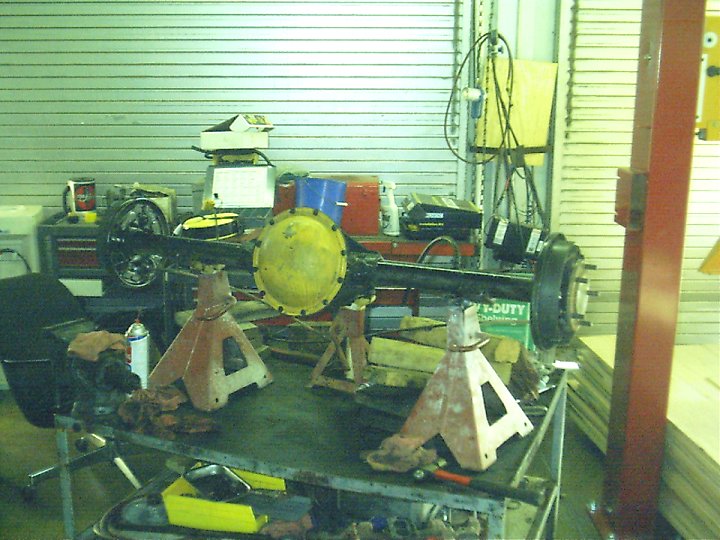
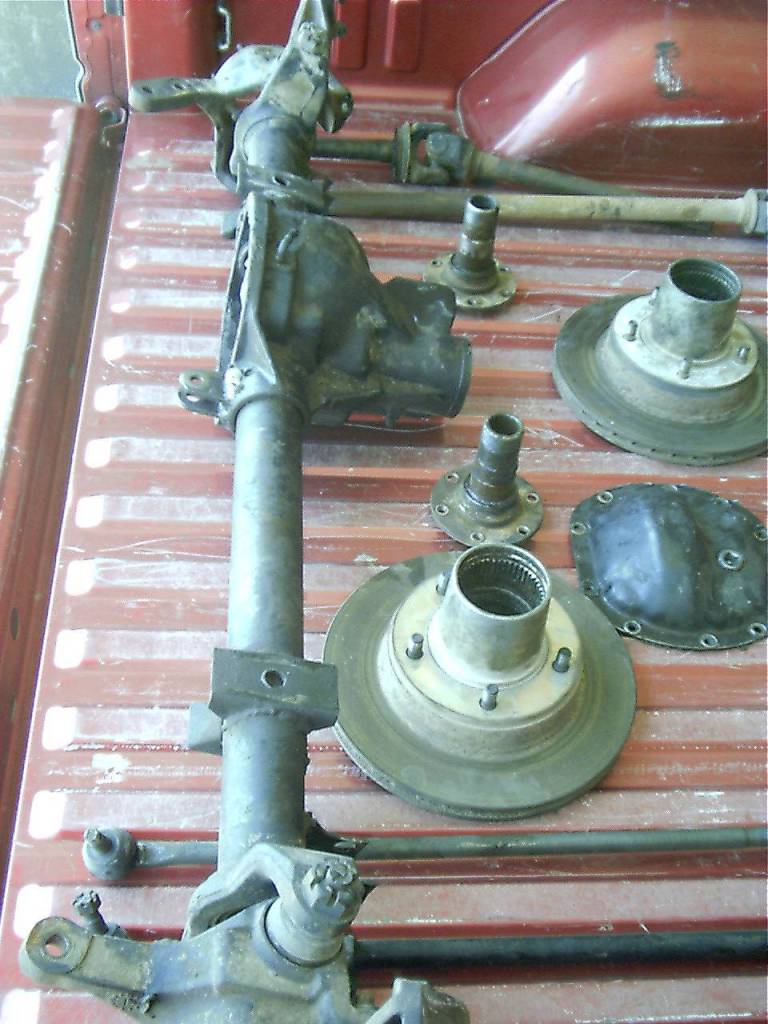
The it was time to rebuild the rear axle. The bearings were shot along with the seals. So, my pal Dave and I decided to tear into it one weekend in the summer last year (2001). The bearing's rollers came out on their own while the axles were coming out of the tubes, as the fine black powdery sludge was actually the bearing retainers. The race seat on the driver's side was so waller'd out that my pal Jim had to 'knurl' the seat to get the race to stay put. About $90, new seals, bearings, and 5 hours later, the rear axle was done. Well, not completely. About a year earlier, I had changed the rear diff fluid and decided to paint the cover chrome-aluminum. My other pal Dave decided that this would simply not do, so he swiped the cover and came back about 15 minutes later and asked what I thought about painting it black... I was lukewarm on it but agreed - right as he handed me my freshly painted black diff cover. I really liked the old color better, but I'm used to it now, and will always keep an eye on Dave when my parts go missing for 10-15 minutes at a time.
|
|
|
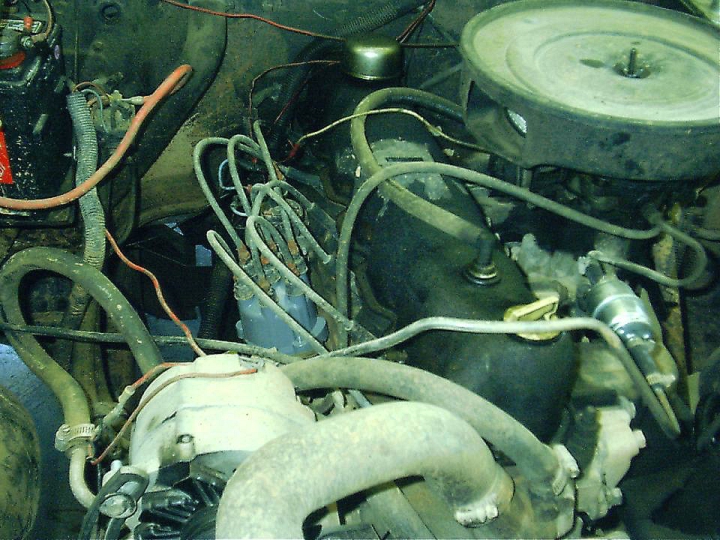
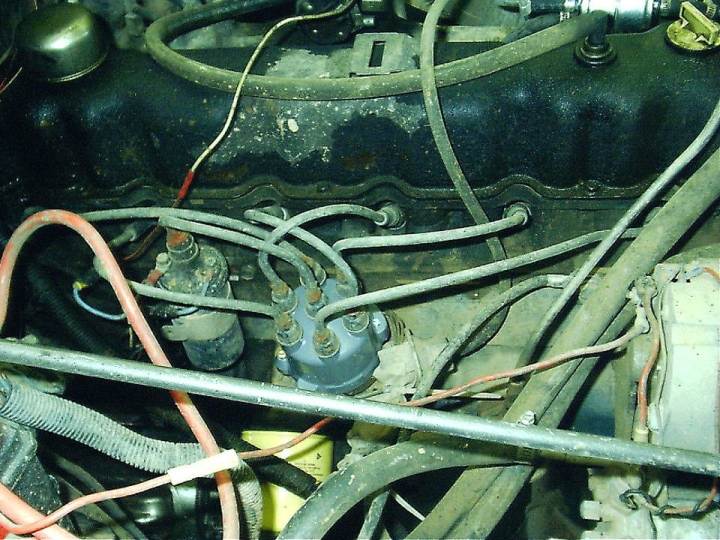
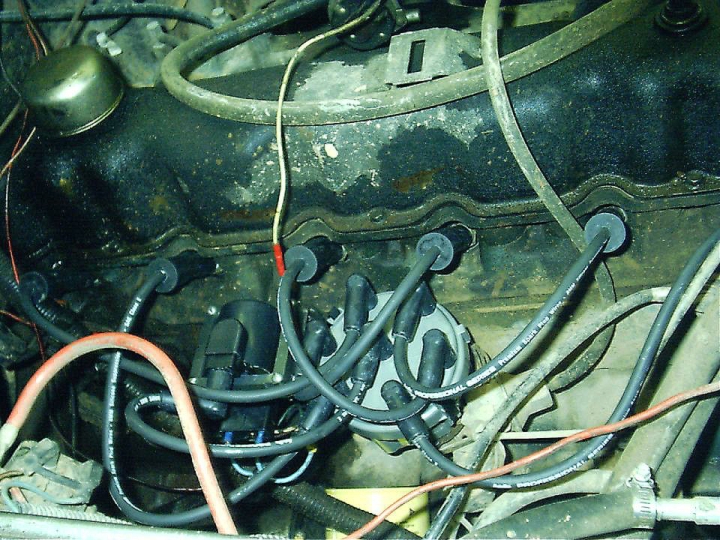
The next thing I've got is the cool TFI swap that I pulled off sometime around mid-Sep 2002. It involved swapping the stock AMC coil, distributor cap & rotor, plug wires, and re-gapping the plugs to a more open setting - the website I first saw this on mentioned .045" as the good setting. I've learned by virtue of stumbling onto this comment in the 4WD Hardware catalog, that there's a kit available to do the very same thing I did, using the same components, and they're running their plugs at .065"!! So, after the initial lukewarm performance gain at .045", I regapped mine out to .062" and it's running much better now. I highly recommend this simple upgrade to anyone with a 6-cylinder looking to squeeze a couple more ponies out of the engine without having to blow all your locker money.
Update: 18 Dec 2002 - One of the plugs finally fouled out, so I back the gap out to .055".
|
|
|
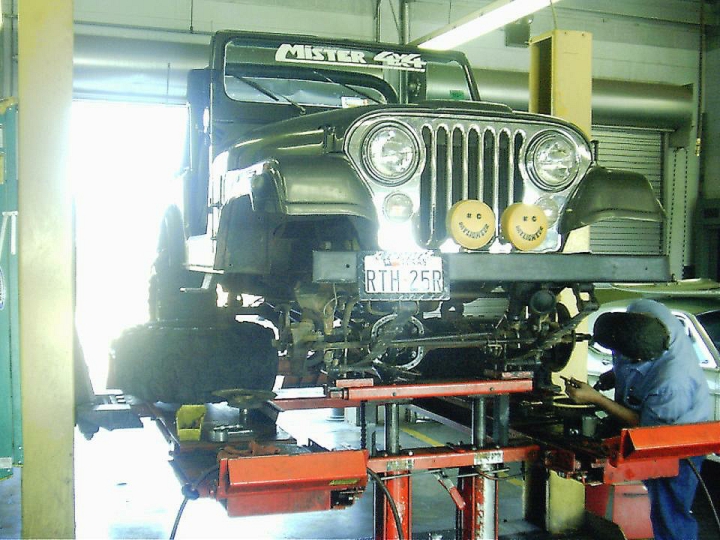
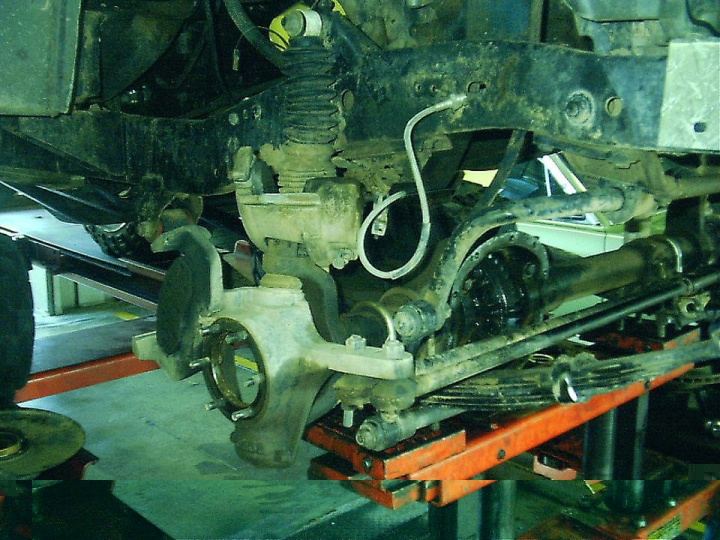
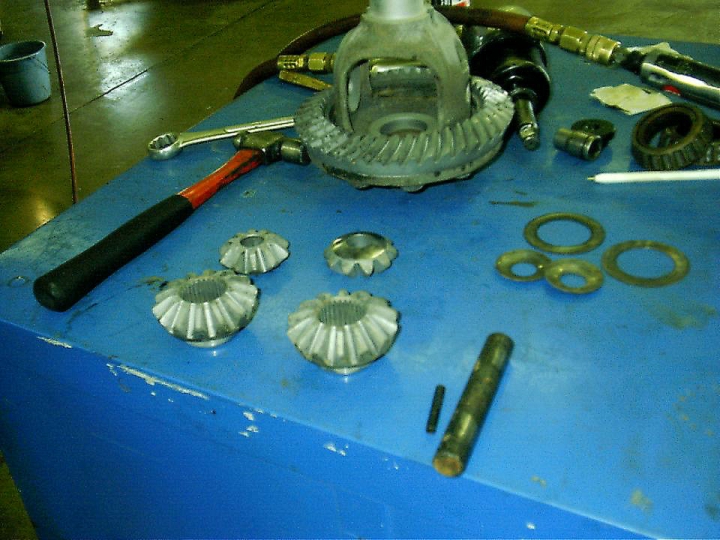
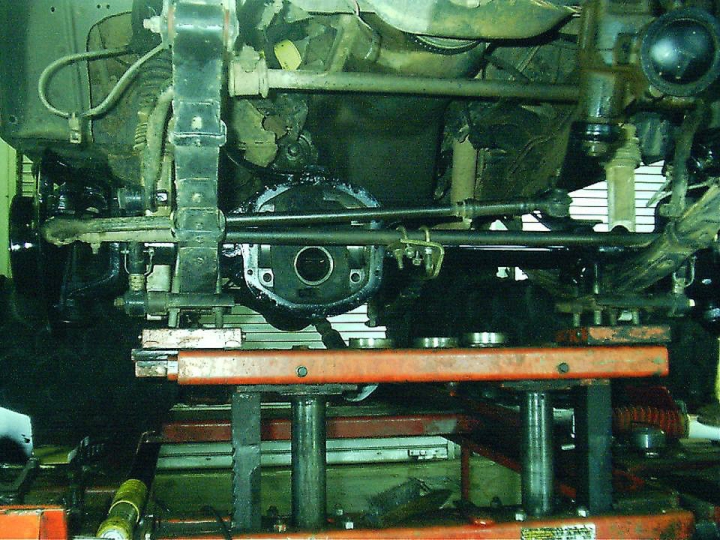
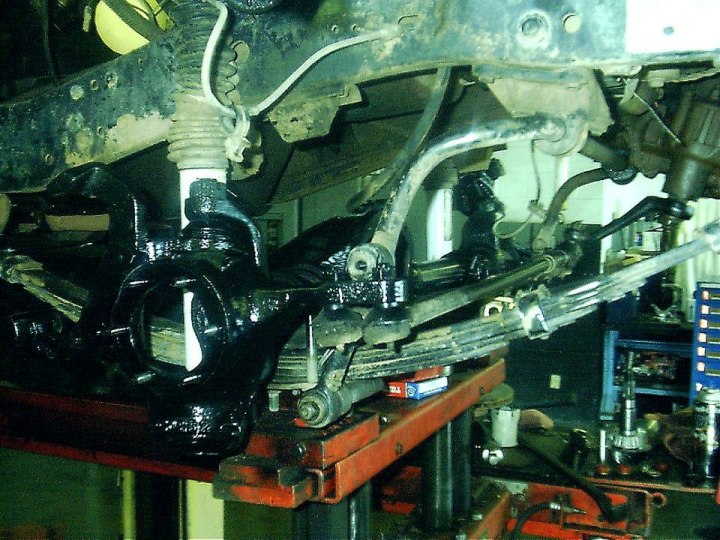
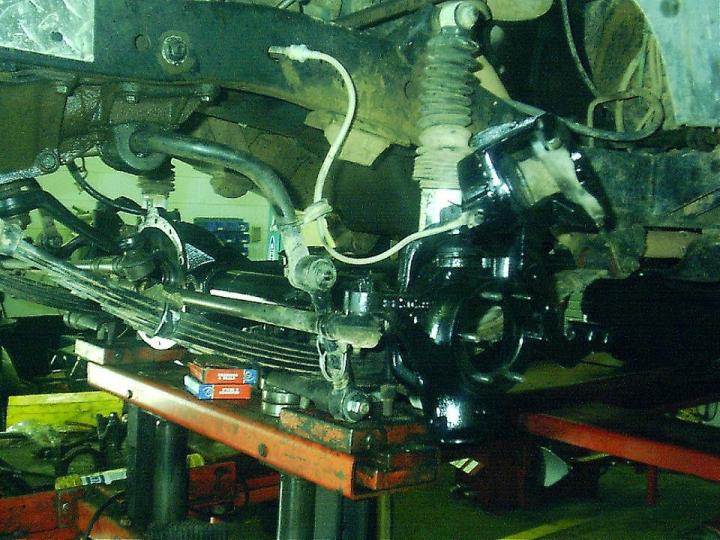
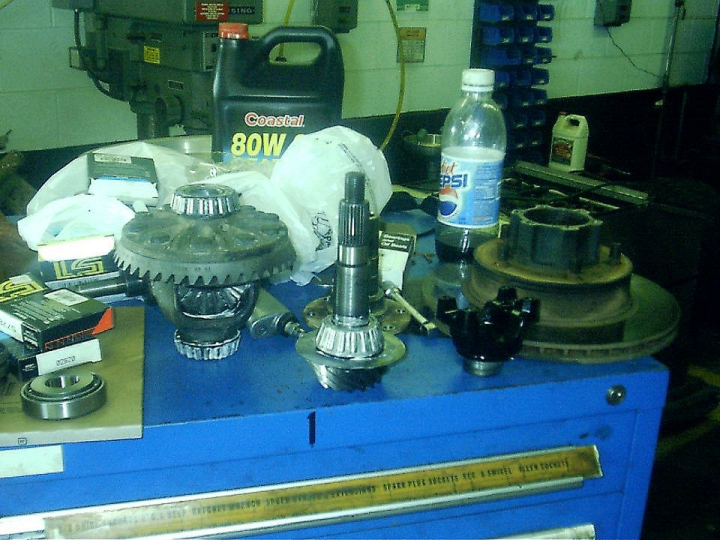
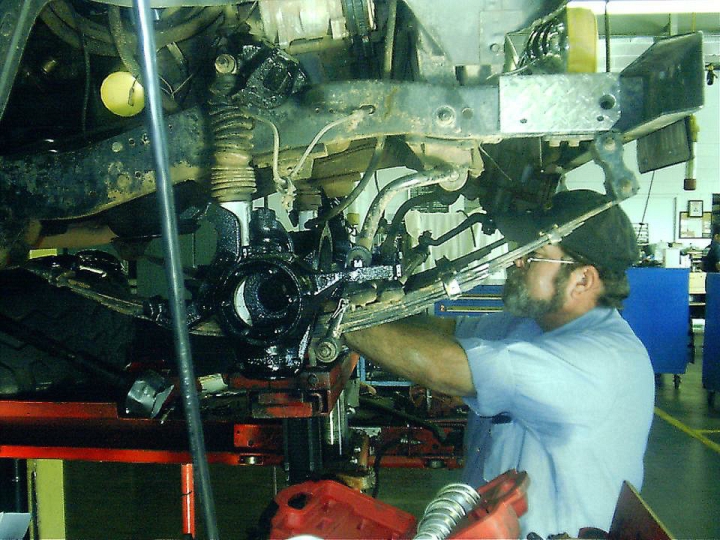
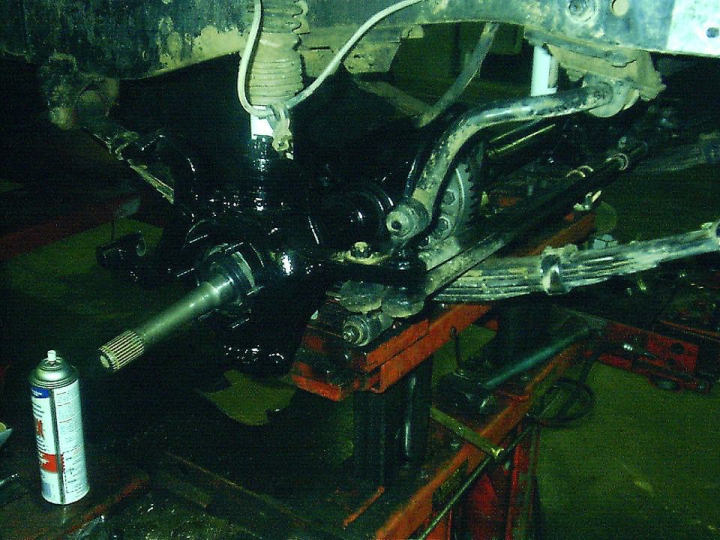
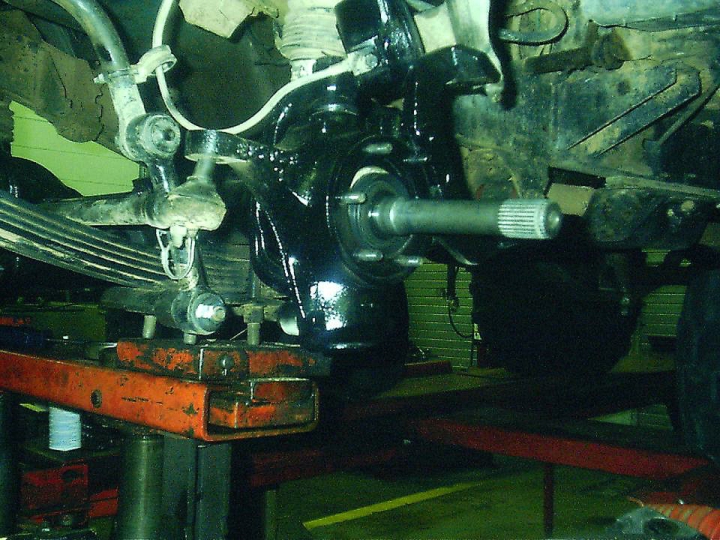
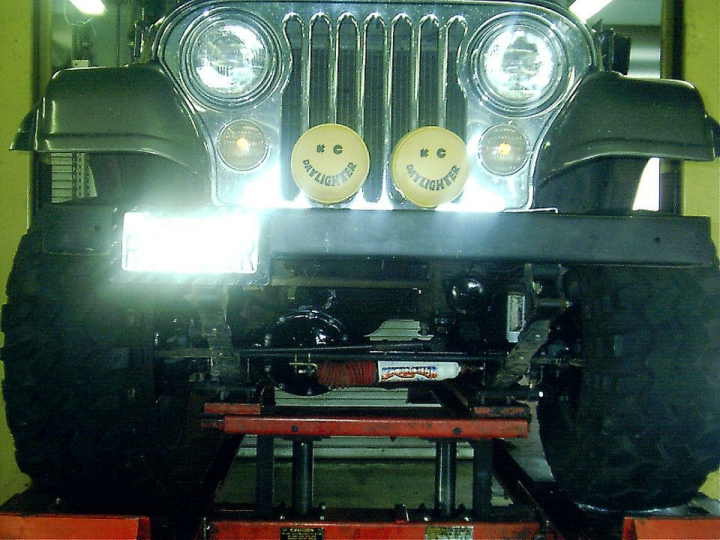
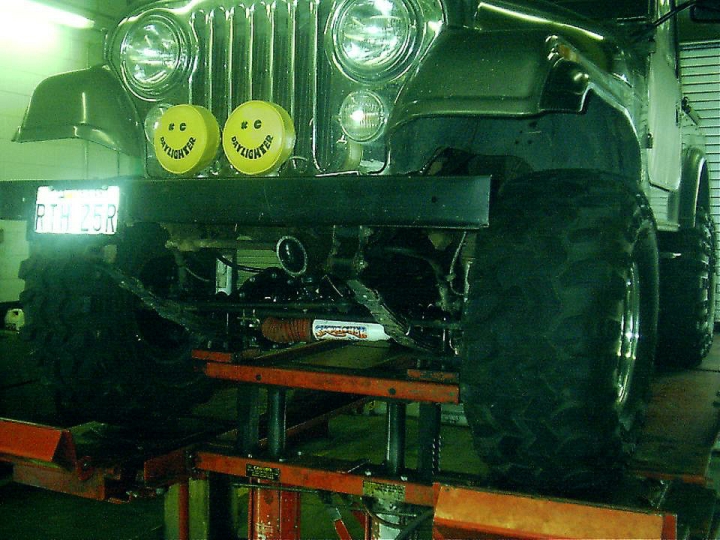
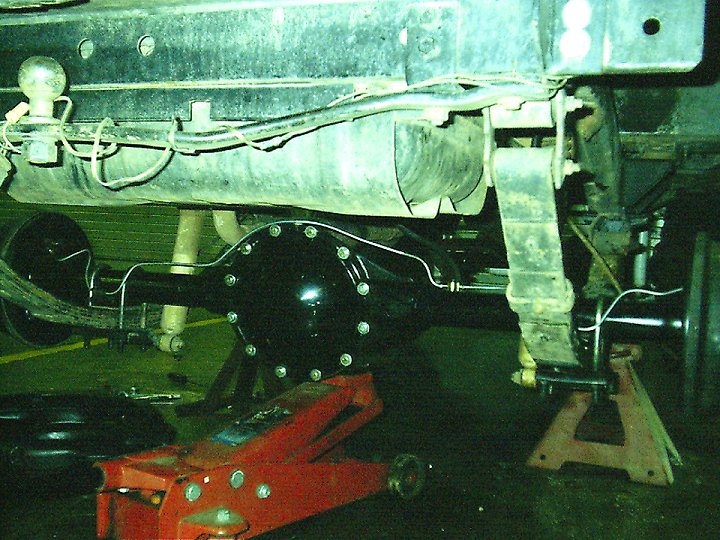
Then came the front axle. I got this wild hair and decided to change out the diff grease before I went 'wheelin' with the club before the 4th of July 2002. Unfortunately, the pudding consistency toxic waste that came out said, "no more 'wheelin' 'til you get this fixed." No kidding - I heard the voice I swear. Of course, it sounded a lot like Jim, the guy in the pictures that's actually working on the Jeep. This axle was in about as bad of shape as the rear one, needing new seals, bearings, and U-joints. I started this project on Saturday morning, Oct 12th - and didn't get the Jeep out of the Hobby Shop until the night of Thursday the 17th, since they're not open on Mondays and Tuesdays. The diff carrier was rusted, so out it came and a trip through the sandblaster later, you see the pieces laid out on the tool chest. I decided while I had everything apart to clean and paint the axles, the housing, the tubes, and everything else I could while I was there. Jim pressed the bearings off and back on the carrier, as well as installed the new axles U-joints. He even got the carrier back in and set the ring & pinion back up. It was all worth it since now the axle is good as new, except better since the factory didn't paint it as spiffy as I did.
|
|

|
|

|
|
|
|
|
|
|
|
|
|
|
|
|
|
|
|
|
|
|
|
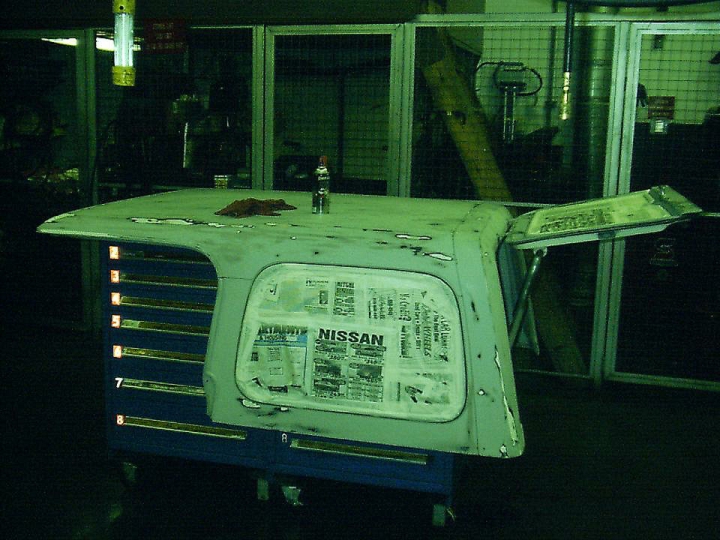
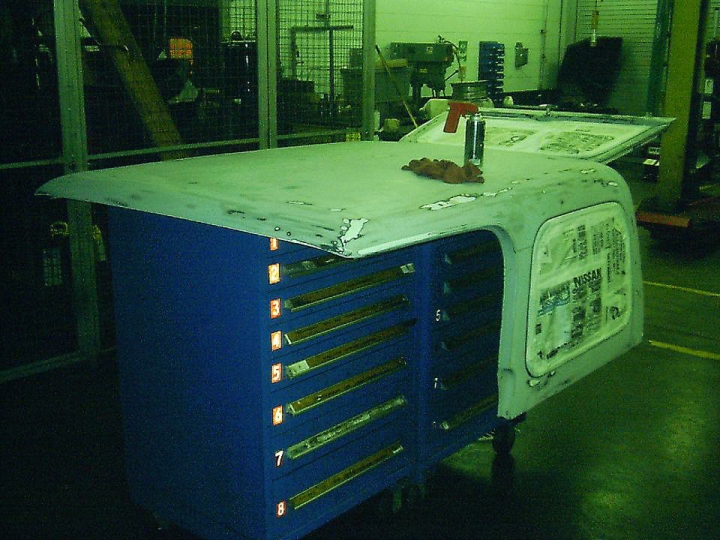
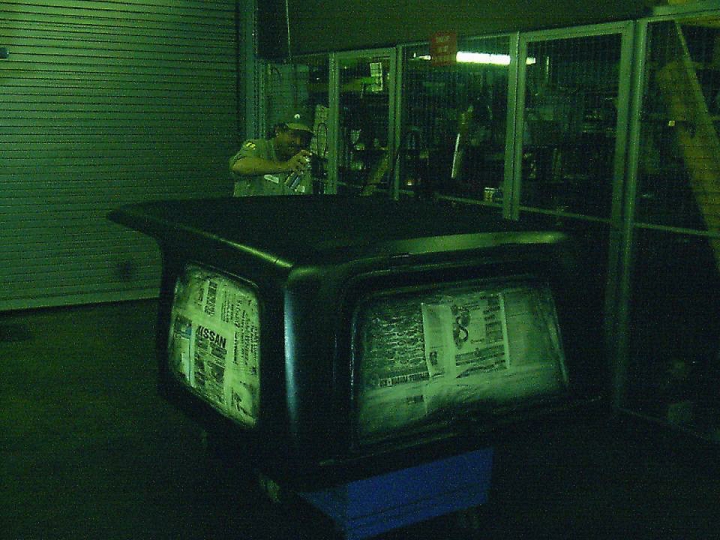
Ever since I've had this Jeep, I've really hated the light gray colored hard top and door trim. I decided to do something about it a few weeks ago (Columbus Day weekend 2002). I also had to remove some cleat hooks that the previous owners had installed for God knows what... they were Okies after all... So I learned the finer points of working with Bondo in addition to finding out that hand-sanding would've been faster and better than taking the air-powered DA sander to this top. Oh well - good thing I'm not a perfectionist when it comes to this stuff. I may take a weekend and color-sand it or lay down a better coat - but that's down the road.
|
|
|
|
|
|
|
|
|
|
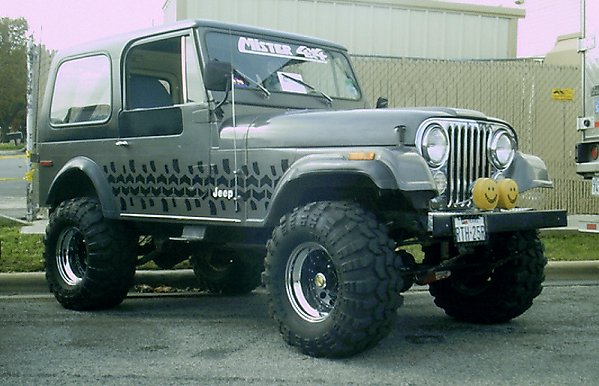
A few months later, I decided to do something about how badly the sides looked with all the scratched and chips in the paint. So I got some masking tape, an X-acto knife, a Sharpie, and some black engine enamel and came up with this. I traced out the tread lugs on the Swampers and made the pattern down the side on the masking tape. Then Jim helped me cut it out with the X-acto knife, which only took like 2 hours. Then 15 minutes later, this is what we had come up with.
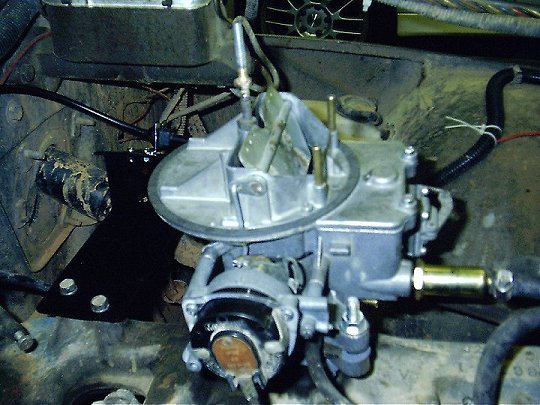
This past weekend (November 23-24, 2002) I swapped out the old Carter BBD (stock) carburetor in favor of a (get this) Ford MotorCraft 2100 2bbl. The whole process started out with me reading about it on Jeeps Unlimited forums and asking Jim if he knew where I could score a rebuildable MC2100. He gave me one from a '60 Falcon which I rebuilt one night after work. Sweet! Well, until I found out on the day that I was going to swap the carbs, that nobody makes a fuel filter for them anymore - after blowing all day Saturday trying to find one. So, I had to take another MC2100 and rebuild it to make the swap happen this weekend - I kinda already took the Carter BBD off and threw it in the corner. Found another one, rebuilt it using the kit from the first one since I hadn't even run any gas through it, and spent the better part of Sunday trying to make the linkage and electric thermo-choke work. To add the "perfect end to the perfect day" (read that with sarcasm tags), the top of the fuel pump sprung a fatal leak when the fuel line was bent to accomodate the new filter location. So, the new pump in place, new carb in place, and a spiffy new air cleaner, the Jeep's processing fuel a whole lot better now. Hopefully, it'll pass the gas station more than once every 4 days now.

|
|
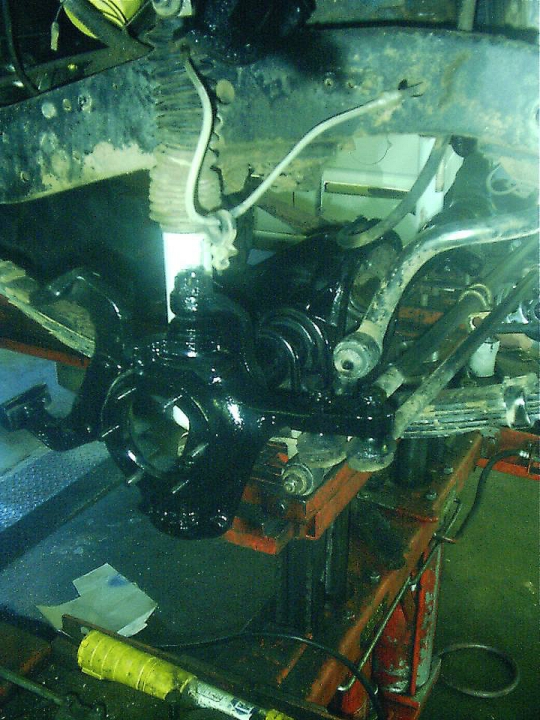
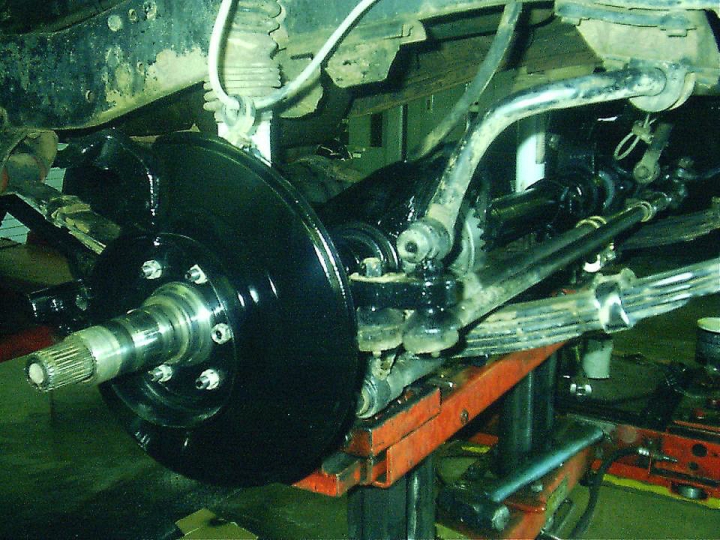
Around Christmas of 2003, I scored a deal with a guy in the Dallas area who was selling his Widetrac AMC20 axle for $400. It also came with 4.10 ring & pinion gears, Moser 1 piece axles, and a Detroit Locker... so naturally I jumped on it. A quick trip up to Dallas and back, and my new axle was here. I tore it apart and made sure all the seals and bearings were good to go and stuffed it under the Jeep.
|
|
|
|
Around May of 2003, I bought a Widetrac Dana 30 for $250 from one of the guys in the Concho 4 Wheelers who was upgrading to a Dana 44. It was already torn apart and missing the carrier and ring & pinion, so I got some new bearings and seals and my wife found a new carrier on eBay for me (only $30). Then I called Matt at West Texas Off Road and had him order a 4.10 ring & pinion kit for me that ran about $150. Once everything showed up, I put it all together and Dave helped me get it under the Jeep just before the Concho 4 Wheelers 4th of July Run - which we wound up missing anyway, but at least I have Widetracs now. The last picture was during a club run while it was trying to rain.
|
|
|
|
In November 2003, I decided to see what was making all the clacking noise under the hood. It sounded like lifters or rockers to me, so I pulled the head off and changed out the parts. No dice.
So I waited until April 2004 then pulled the bottom end off the engine to see what the rod bearings looked like. They were toast and I had spun a couple of them. So I replaced all of them and hoped that was the problem. Nope. Not quite.
Then awhile later (somewhere around October 2004, I think), I decided to pull the head off again and see what was going on. Jim wondered if a wrist pin was going bad, so we pulled all the pistons. The number 4 piston had a cracked skirt - and I was convinced that this was the problem. So I took all of the pistons down to a local machine shop, had them checked and replaced the #4 piston. Then put it all back together with a re-ring kit after honing the cylinders. It ran better - tighter - that's for sure. But the noise persisted.
Then I finally sucked it up and pulled the engine in February 2005, and bought a new crank. Since the rod bearings were so bad, I figured this was the time to get it all right. I really want to get my AMC 360 done, but if I rebuild the 6-cylinder, I can at least drive the Jeep while waiting for the engine rebuild. So, I got a new timing chain/gears, crank, oil pump, oil sender, lifters, bearings, seals, water pump, pretty much the whole tamale - everything but the cam and new rocker arms.
Since the rebuild, the engine still makes the noise only slightly, so I'm thinking it's worn-out rocker arms. Since the noise doesn't get any louder with the engine temperature, I'm inclined to rule out wrist-pins. Oh well, hopefully, it'll just hang in there long enough to get the 360 done and drop it in.
Next project on deck - re-engineering the spare tire rack. Then I can install the new corners Jim bought me for Christmas a few years ago.
And then - the AMC 360 and TC727 automatic tranny from the '76 Wagoneer.