Jeep Corners
So Jim's tired of looking at my Jeep's ratty-assed-out corners and decides something like 4 years ago to buy me new sheet metal corners for a Christmas present. As usual, my laziness had them living in the garage for several years until I finally got off my ass and decided to do something about it.
Starting in October 2009 shortly after the annual car show at the Goodfellow AFB Recreation Camp, I decided to cut the back end off the Jeep and replace the corners. Below is a picture-trail of the progress that took quite awhile to accomplish, working only on weekends for a few hours here and there.
|
|
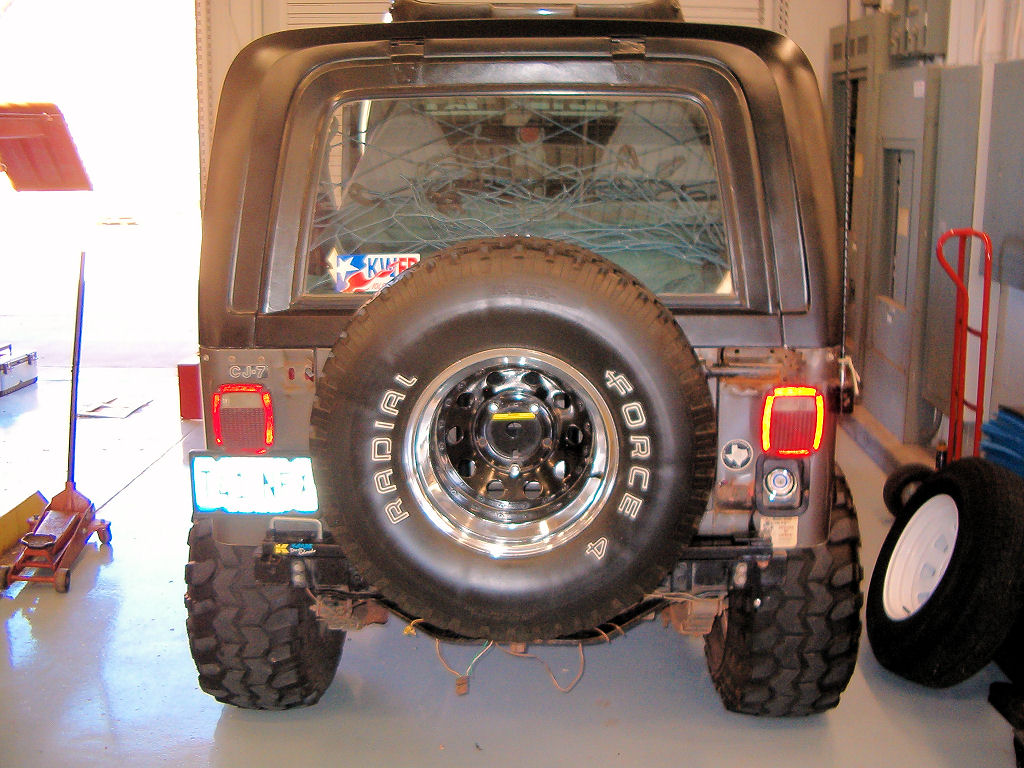
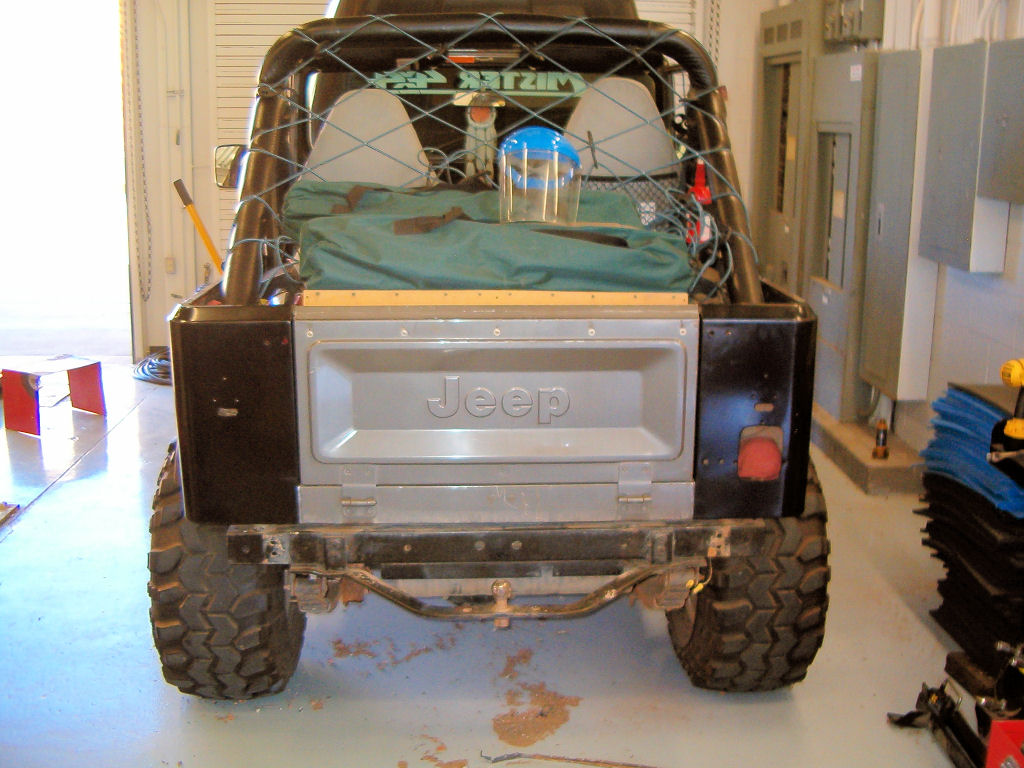
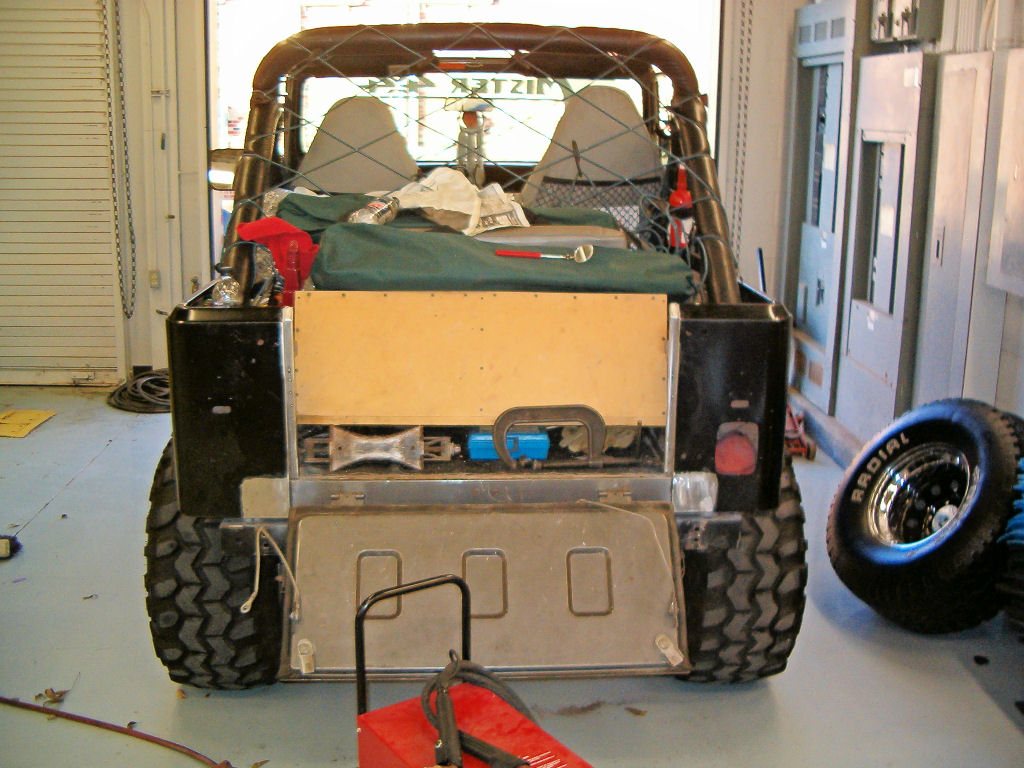
1. Here's the munched corners. The stock tire rack had worn holes through the sheet metal where it mounted. I bought an aftermarket rack that wasn't quite up to the task of supporting that spare, so I had to modify it to work... which messed up the sheet metal even more. So, I'll be modifying it even further for a permanent solution... but more on that later. |
|
|
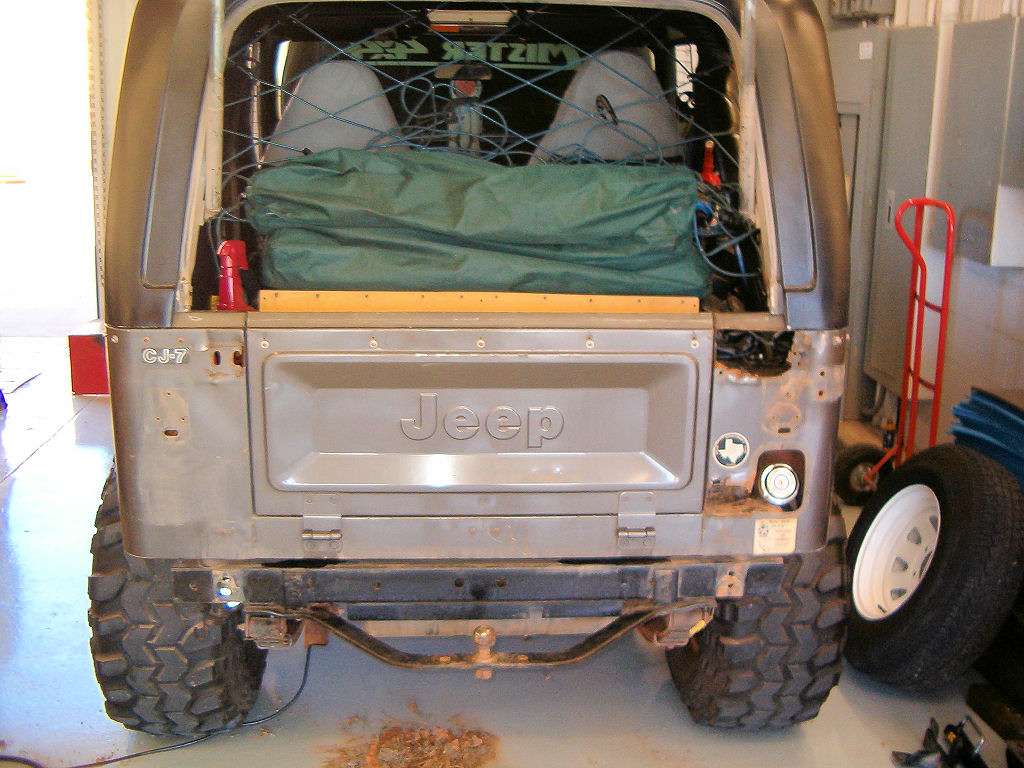
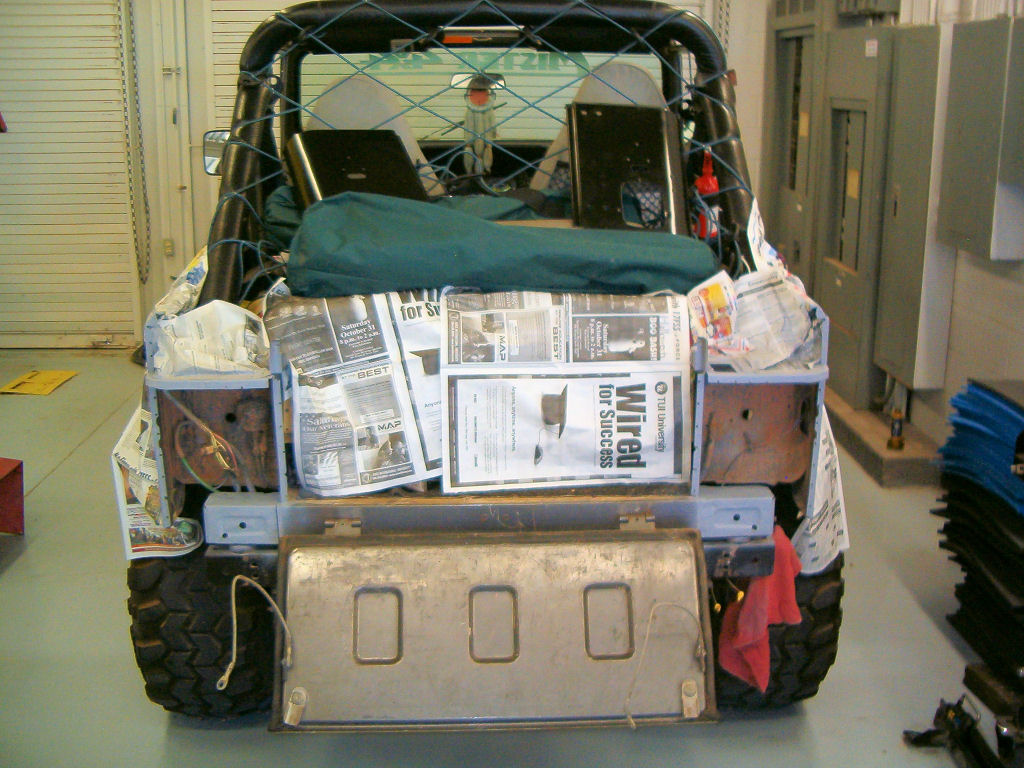
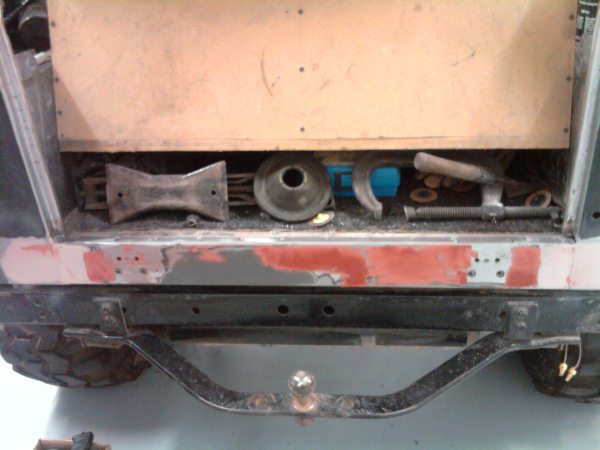
2. Everything is off - the tire rack, license plate, lights, antenna mount, side markers, and gas filler bezel. The big holes should be much more noticeable now. These holes also let in exhaust gases which is not good, unless you like smelling like an old Jeep, that is. |
|
|
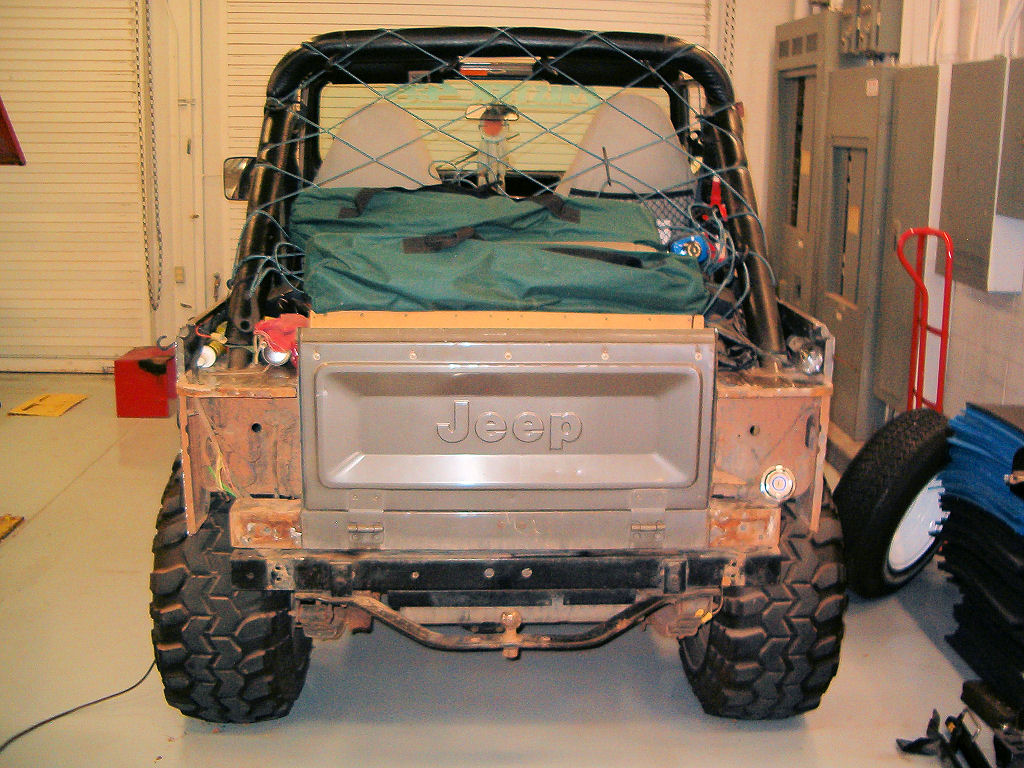
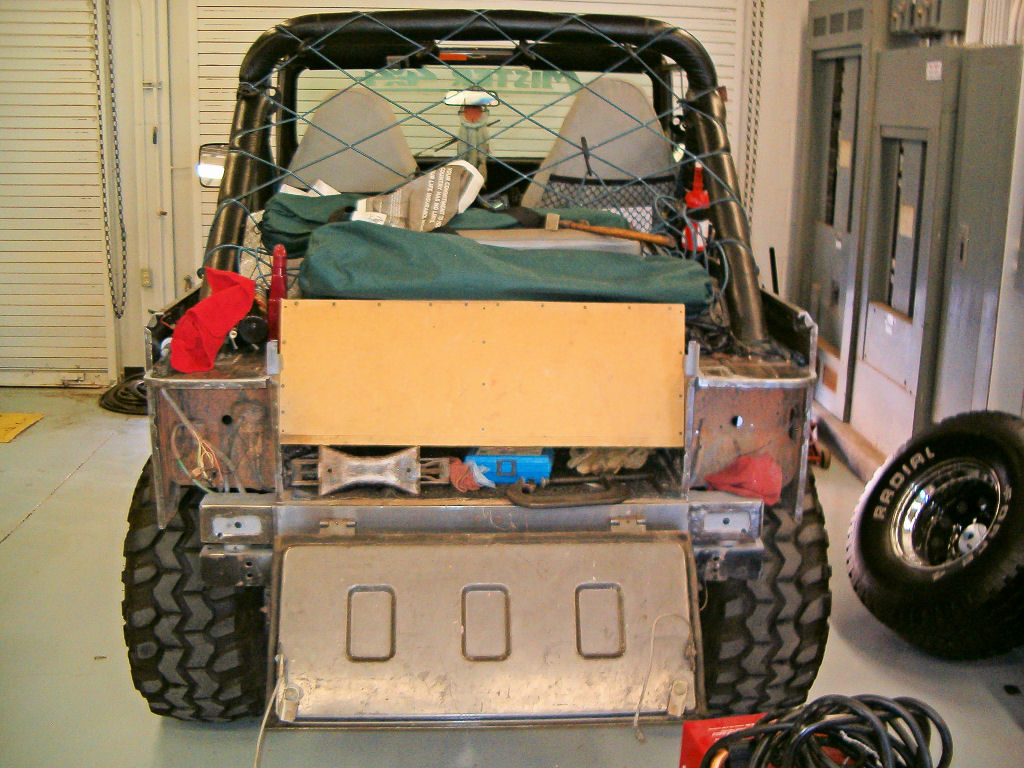
3. And here we are with the corners cut off. They spot-welded the crap out of them at the factory, which caused the old corners to come off rather badly... which is a bummer, because I wanted to save them for garage art. |
|
|
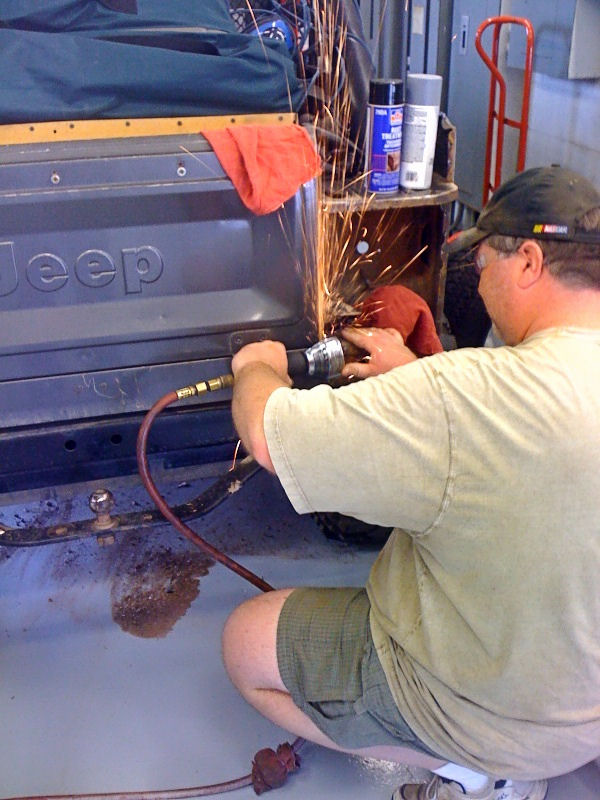
4. Today was all about making noise and throwing sparks by cleaning up the rough edges left from drilling out the spot welds and getting the existing panels ready to accept the new corners. And yes - I was wearing eye protection. |
|
|
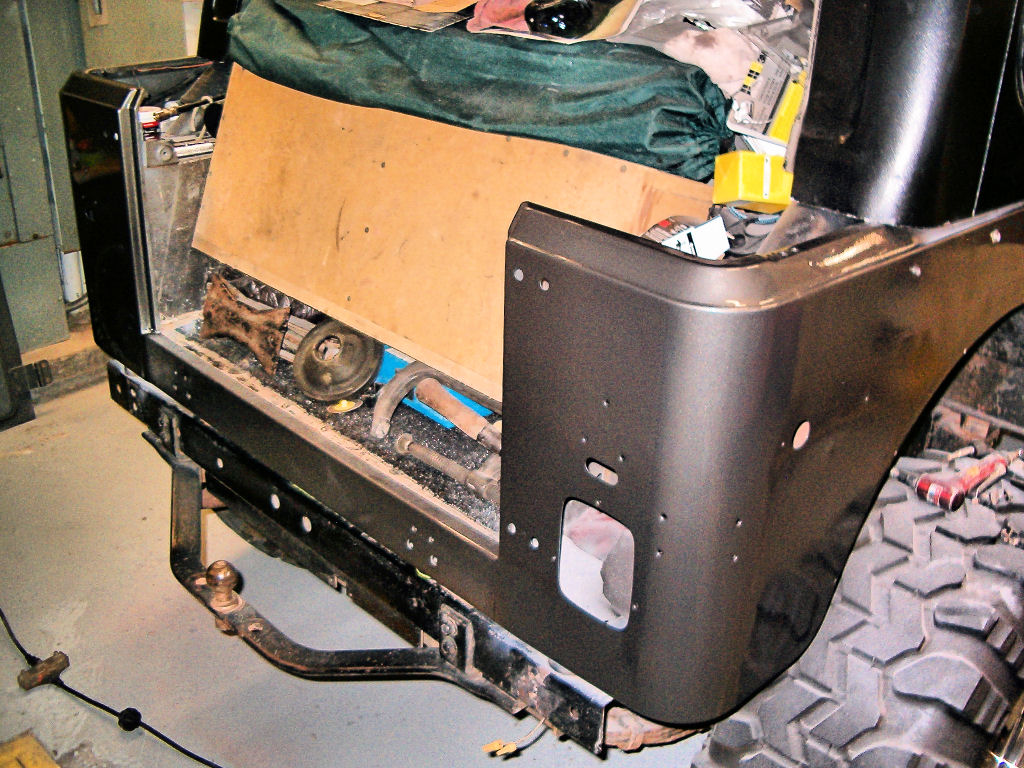
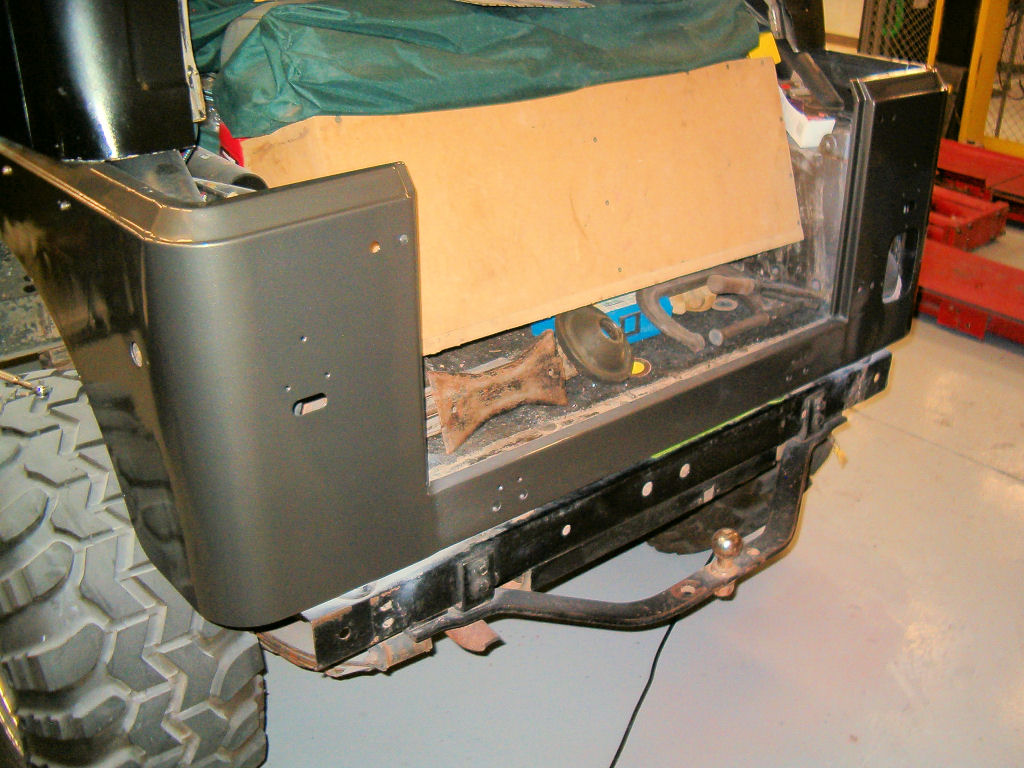
5. Test fitting the new corners after all the grinding and re-shaping of the seams that got jacked up when I removed the old stuff. I clipped the seams together with 4 pairs of vice grips and closed the tailgate. This is starting to come together. |
|
|
6. Cleaned and primered the bare metal with intentions of welding today. Discovered I might have to sand all the primer off from the areas where metal-to-metal contact is supposed to happen in order for spot-welds to happen. |
|
|
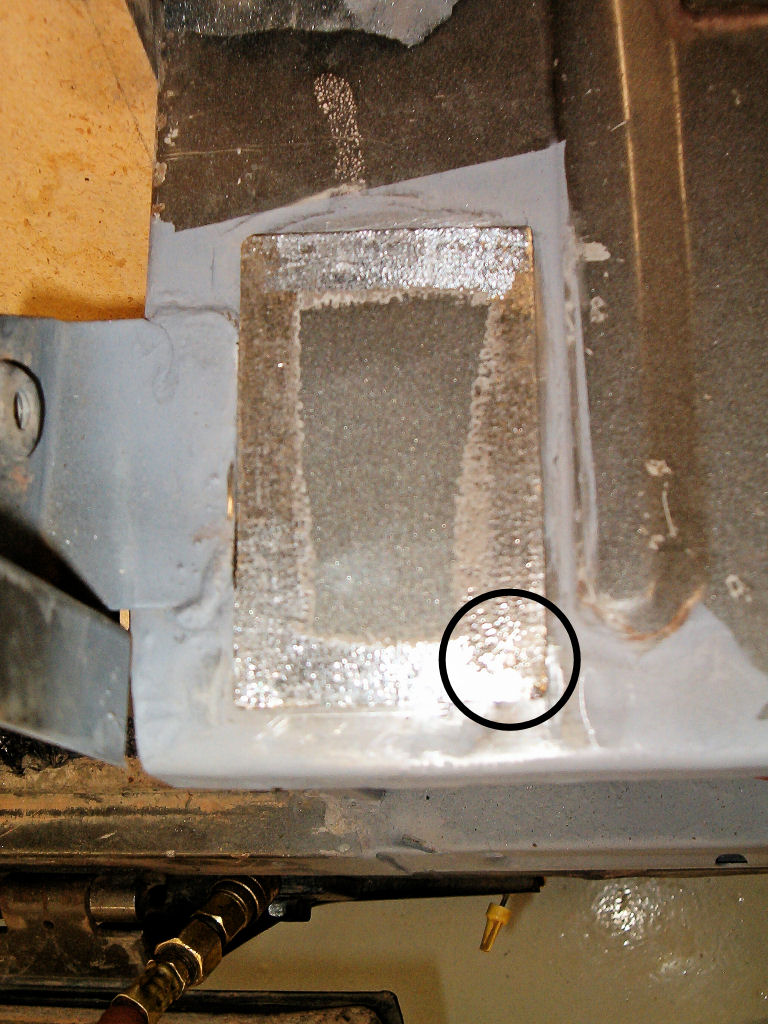
7. Here's the first attempt to zap metal with the new spot-welder (had to patch a hole on top of the inner fender). It appears there's not a lot of current (amperage) to this machine (it's a portable unit) so we have to have the absolute best contact in order to weld. After the first 15 minutes of trying to find the sweet-spot, I got one whole weld out of it. Tried again and got a couple more in about an hour's time, but frustration set in and I'm done for the day. |
|
|
8. I know it looks a lot like the rest of the pictures, but here I've scrubbed all the primer off the surfaces to be spot-welded. Apparently, there must be clean metal-to-metal contact in order to strike a good arc and create the welds. I also took some aircraft paint remover to the new black-primered sheetmetal... and discovered it works well on skin also. |
|
|
9. And finally, the new corners are on - without the help of clamps and vise-grips this time. The spot-welder was a lot more accomodating this time. I had to pull the left corner off and reposition because it was about 3/8" too low where the tailgate meets up... no biggee - it's only tacked at this point. Gonna hafta break out the MiG wire-feed welder to finish it all up. I'm also starting to realize I might've gotten away with simply pop-riveting the whole thing together and been done 3 weeks ago. Oh well. |
|
|
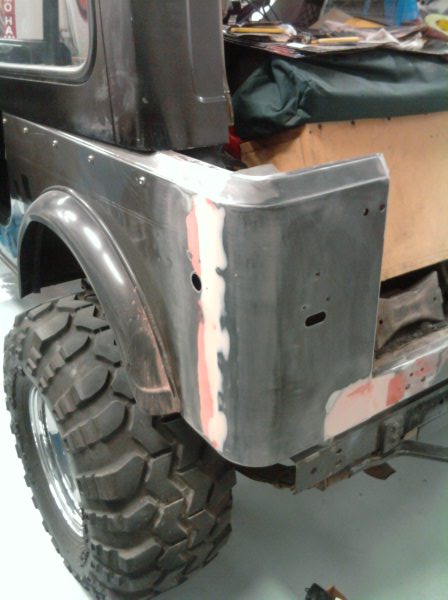
10. Here's the right side after grinding the welds, filling the bad spots and seam with my favorite substance in the world - mix-it-yourself-and-hope-it doesn't-set-up-too-fast bondo. The darker areas are a pre-mixed glaze-putty that's easier to work with, designed for smaller areas. |
|
|
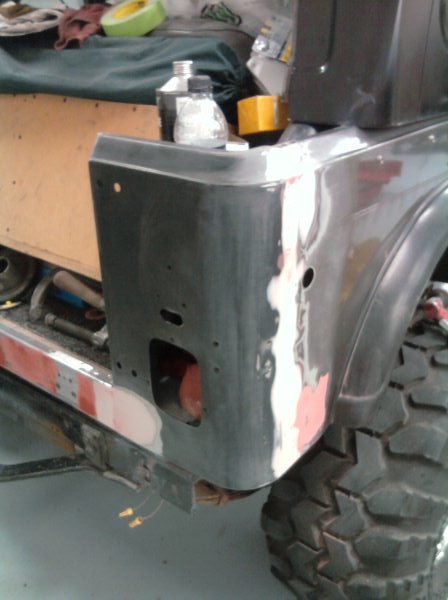
11. And here's the left side after smoothing the bondo with 400-grit sandpaper. The Jeep originally had a seam running down the side where the corners attached to the main fender. But because of my crappy welds, I decided to fill them for a smoother look, like on Jim's CJ-5 - which has a one-piece 'tub'. |
|
|
12. While I was finishing up the bondo on the corners today, I decided to take off the tailgate and fill the scratches and divots left by the original spare tire carrier as well. The tailgate's in good shape, so I'll leave it alone for now. |
|
|
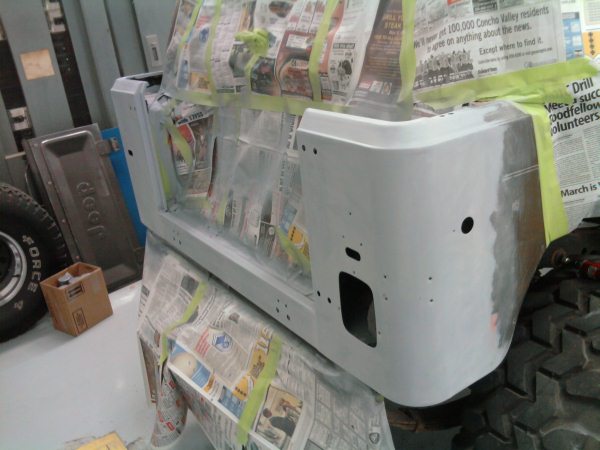
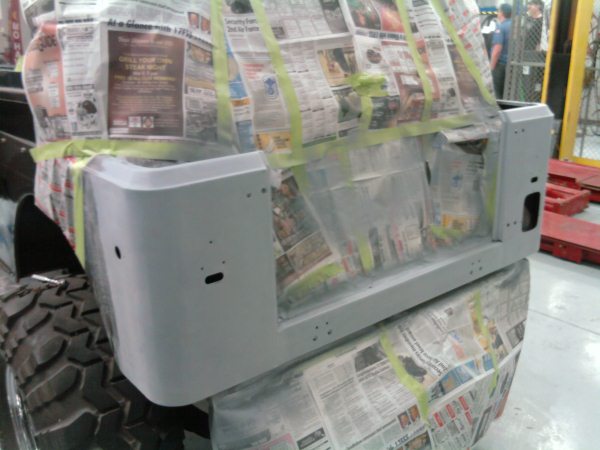
13. Finally, after all the sanding we have primer. I used a high-build primer that fills in the little scratches you might not see or even feel. After it dried, I hit it with 400-grit to knock the roughness off, then followed with 800-grit to make it smooth enough to paint. |
|
|
14. Another shot of the left side - ready for paint... FINALLY! OK... maybe - I'll probably find some little bad spots that I'll work on some more because I'm too chicken to start laying down the color that I hope the paint shop was able to match. |
|
|
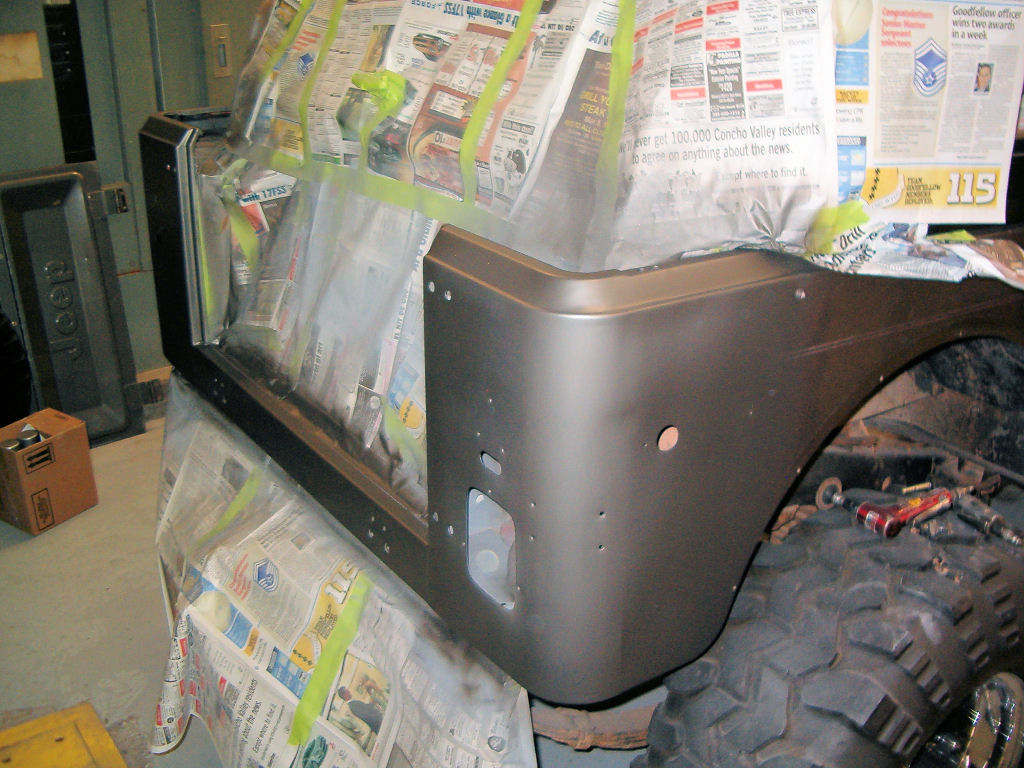
15. OK - now we have some color! It looks really dull because the base coat goes down 'flat,' so the clear coat has something to stick to without having to scuff it up first. |
|
|
16. The left side with base coat laid down. I am so glad the guys at the paint shop matched it up so well... I was pretty stressed about having the 'new stuff' look really obvious because the new paint wouldn't blend into the old. |
|
|
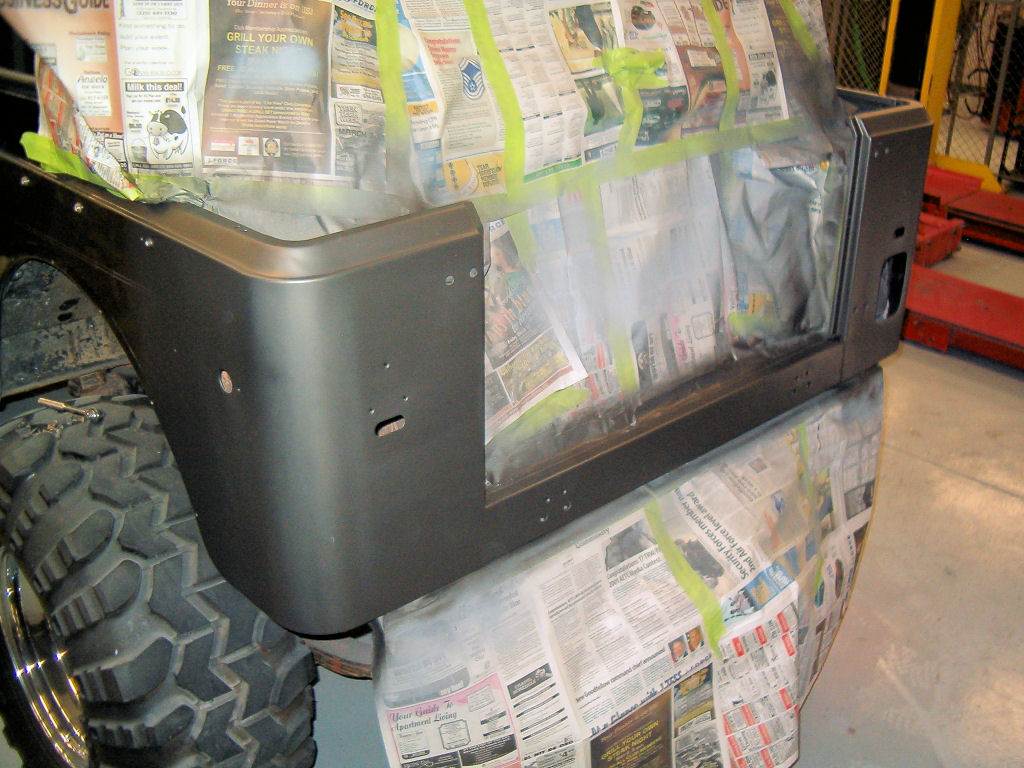
17. Finally got the clear coat applied and it looks even better now. All that's left now is to buff it all out and blend the clear coat overspray into the existing paint on the side. |
|
|
18. Here's the left side - which was harder to get an even coat because the lighting wasn't the greatest in that corner of the shop. Turned out pretty awesome I'd say, considering it was all done with spray cans. |
There's more pictures coming after I reinstall the taillights and other hardware back onto the Jeep. There will also be more projects to come as I re-engineer the spare tire rack, build nerf bars and a new front bumper, and mount up the Warn 8275 winch.